12 February, 2016

A Vacation: St Augustine FL

2016-02-12T14:34:29-06:00Everything Else|1 Comment

IMG_5459

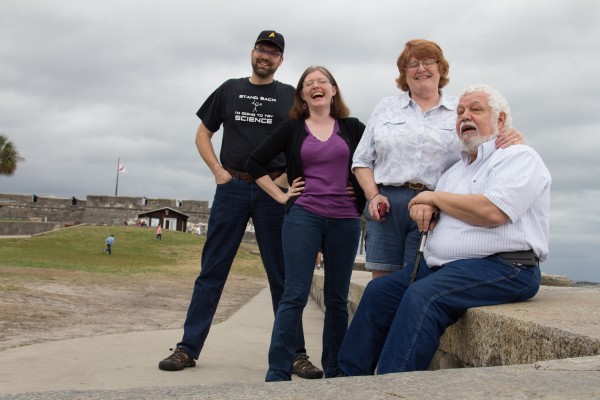
When you live in Minnesota, sometimes you need to take a break from winter and go south.  We just spent a week in St Augustine, FL with my parents and it was a lovely getaway.  St Augustine is the oldest settlement in the US, with lots of sandy beaches and interesting things to go and do.  It wasn’t what I would call balmy on our trip.  The weather was cool and windy, but still warmer than what we left back home.  No complaints.
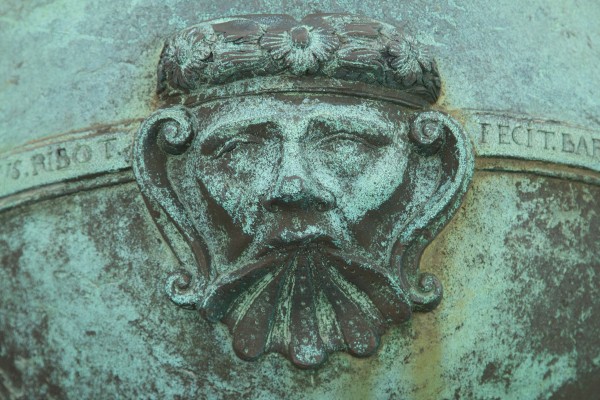
IMG_5215We spent a day at the Castillo de San Marcos fort.  The view from the top was beautiful. We eavesdropped on the tour guide who was in charge of a huge group of 4th graders. (She was really great.) My favorite part there was the bright turquoise verdigris on all of the cannons.

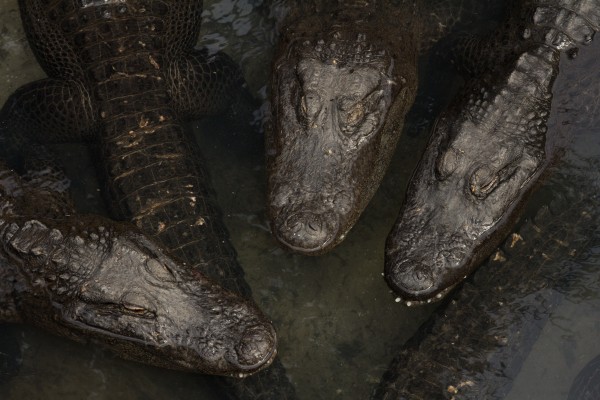
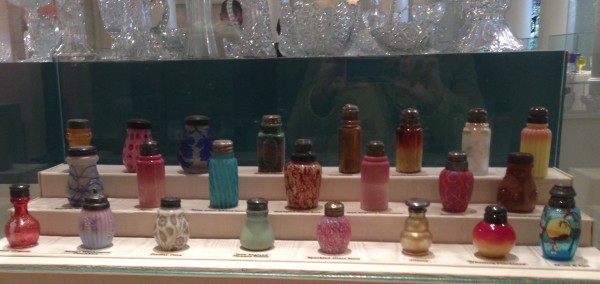
We visited the Alligator Farm and the Pirate Museum.  Both are awesome even though they sound like they will be totally cheesy.  The quirky Lightner Museum was also a highlight.  We were there for the mechanical musical instruments demonstration.  They are known for housing a collection of collections. What other museum do you know about that has a collection of banana stickers, antique buttons, mechanical musical instruments, shaving mugs and 23 varieties of glass salt shakers?

IMG_2797

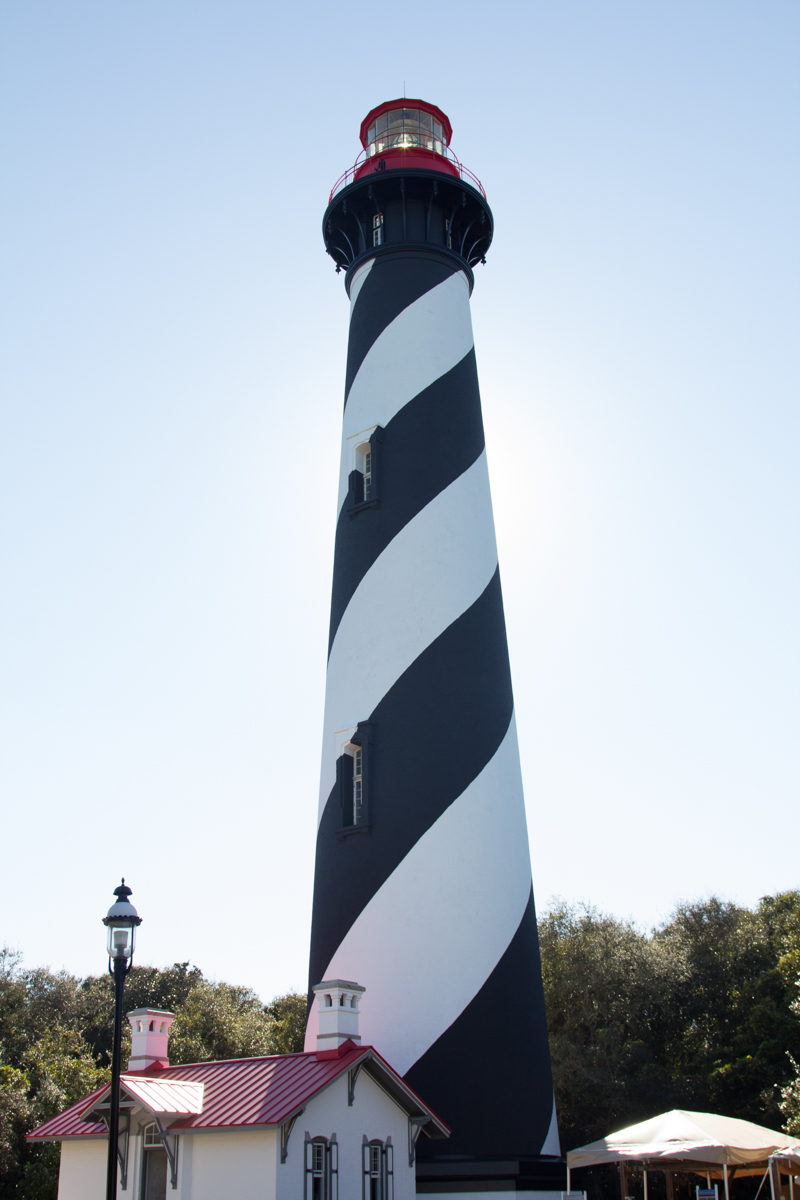
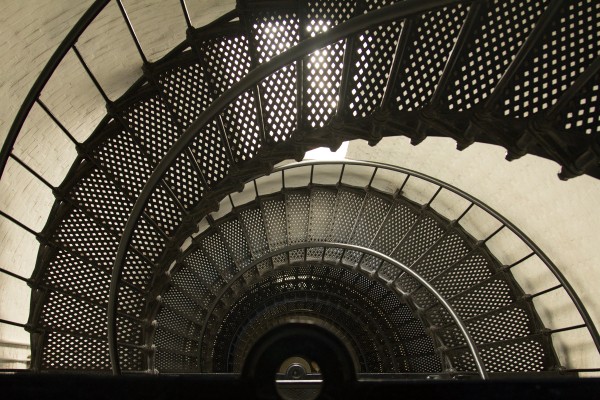
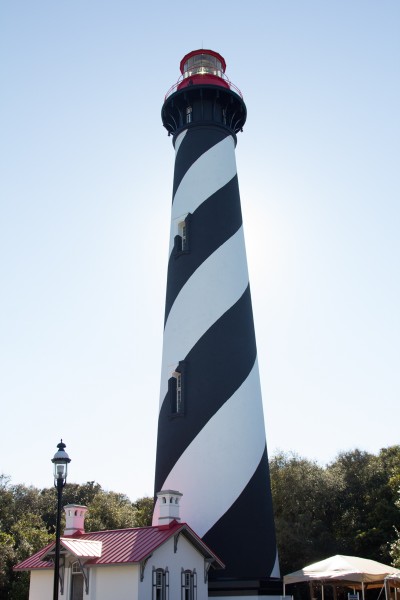
We walked all the way to the top of the St Augustine Lighthouse. 14 stories high! We ate fresh fish (the boys went fishing), gelato, minorcan seafood chowder and local chocolate.

IMG_5500

IMG_5493

We drove up to Jacksonville to see the zoo one day.  Some zoos are depressing and the animals look sad.  This one is beautiful and big and open.  We chatted with a zookeeper who was feeding the small-clawed otters (who like shrimp better than smelt) and the nice train operator held the train for us when we scrambled to get tickets that we didn’t know we needed. It was bright and sunny that day and all of the animals were out basking in the sun.

IMG_5654

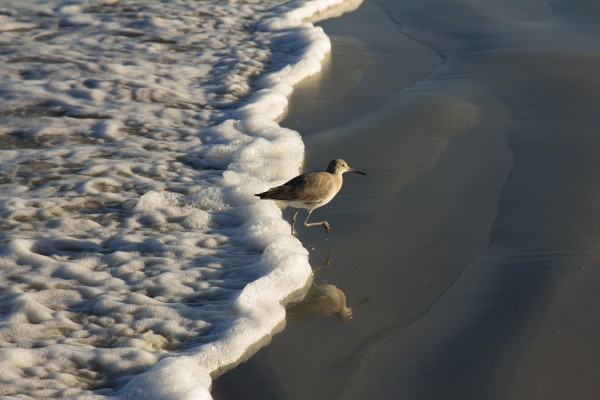
We walked on the beach and picked up shells.  We even got takeout pizza and let my husband watch the SuperBowl (he’s the only football fan).  It was a nice break to recharge and relax.

IMG_5171

18 January, 2016

30 Second Photoshop Tutorial: Copy with Move + Option Key

2016-01-18T16:48:09-06:00Everything Else, Spoonflower & Fabric Design, Tutorials|Comments Off on 30 Second Photoshop Tutorial: Copy with Move + Option Key

miniOptionIt takes some time to put together a really good tutorial for a project or design, but there are some great techniques that only take a few seconds to explain.  This is one I use all the time to copy objects in Photoshop.
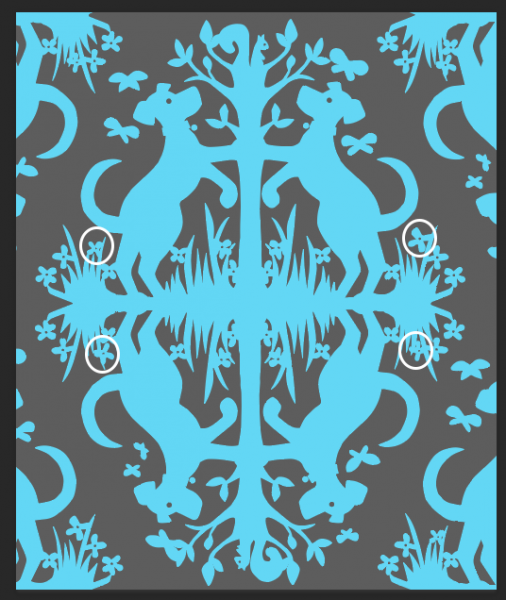
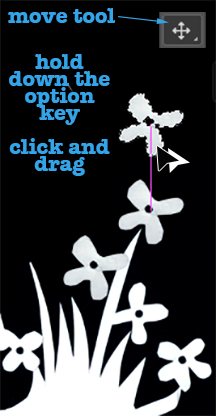
Select an object, like this little flower.

Choose the Move tool.

Hold down the option key as you click and drag that object.

Viola!  You now have a copy of that shape.  Copies made this way will be in the same layer as the original; if you use copy/paste commands, Photoshop will create a new layer for each copy you paste in.

Today I was working on a “dogs chasing squirrels” damask and I decided I wanted a few more flowers in the grass, so I used this technique to copy them.  While each was selected, I also rotated and resized a little bit to add some variety, so they would look less like copies.

Screen Shot 2016-01-18 at 4.46.00 PM


17 December, 2015

Dyeing Yarn & Roving with Food Coloring

2015-12-16T18:31:38-06:00Everything Else|9 Comments

dyes
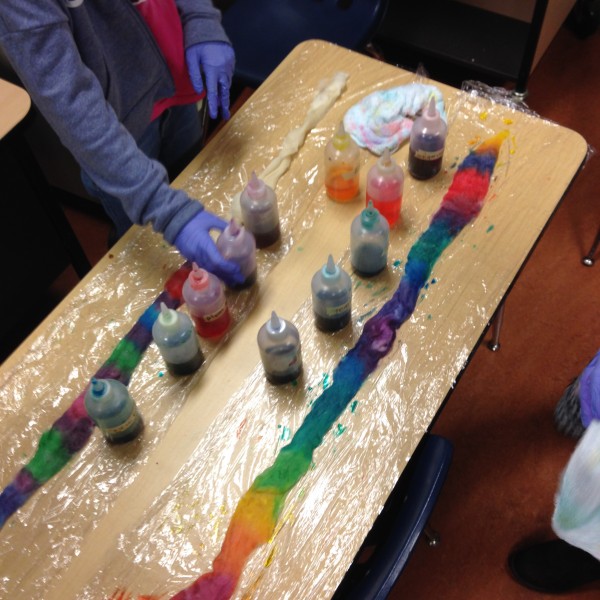
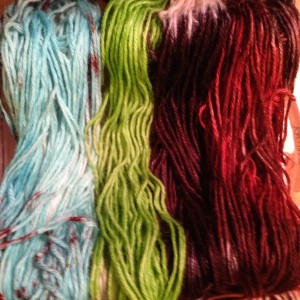
I am co-teaching an afterschool program at a middle school for the next few weeks.  For the last 2 days we have been dyeing some fibers to use in other projects later on.  Last week was yarn with koolaid, Tuesday was roving with food coloring.  For the koolaid, I let the girls just try things, but with food coloring (and roving which needs a little special handling) I wanted them to have more of a plan.  I decided to have them dye with food coloring and to mix their own colors.  So I went looking for a color chart, figuring someone had put together a chart with the recipes for making all kinds of colors with your basic palette of food colorings.  But I didn’t find one.  I found versions for coloring frosting, for select groups of colors and lots of cool experiments but not something I could hand to the kids like a recipe with examples of the colors they would get.

kidsdye

So I made one.

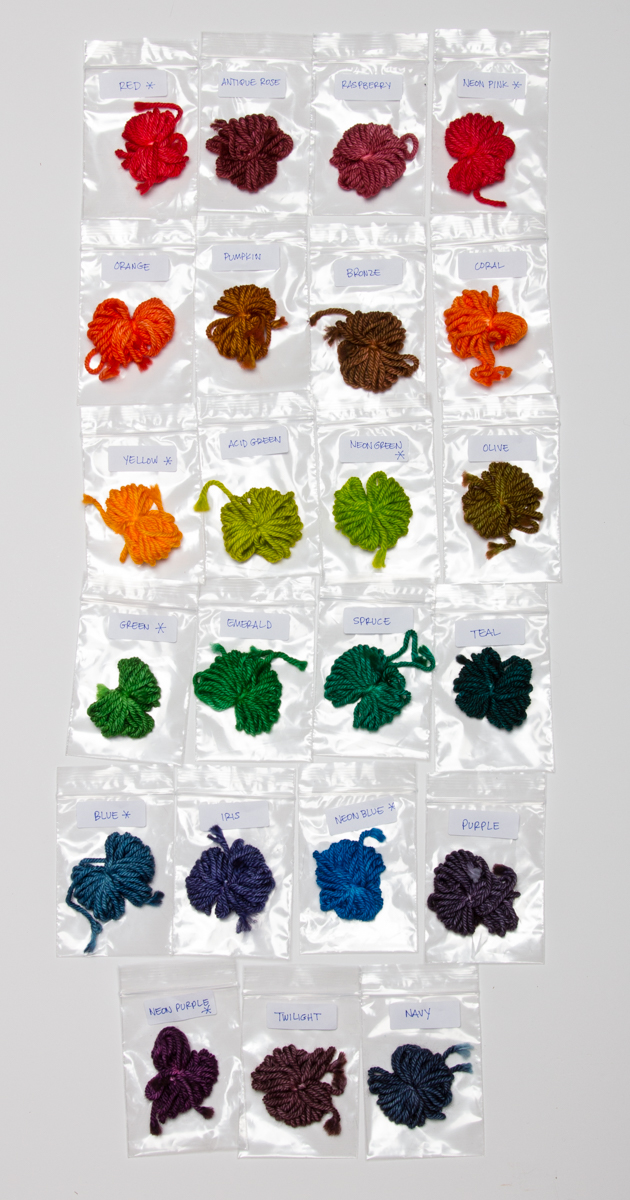
I did a little experimentation by first writing down all of the various recipes I could find in a scattering of tutorials and charts.  I made up mini skeins (about 4 yards each) of wool yarn and mixed up each of the colors with McCormick food colorings (assorted and neon) in a plastic yogurt cup with a splash of vinegar and about 1/2 cup of boiling water.  I let them steep for about 10 minutes and then rinsed.  I did 25 colors total, with a few I dyed over again and tweaked the recipe because I didn’t like the color (or it was too close to another color).  In the end, I kept 23 and put together a chart that you can use.
Screen Shot 2015-12-15 at 9.48.56 PM

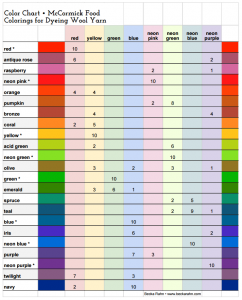
You can download my Dye Color chart here.  (You are welcome to print it for your own use or to use for classes, youth groups etc.)

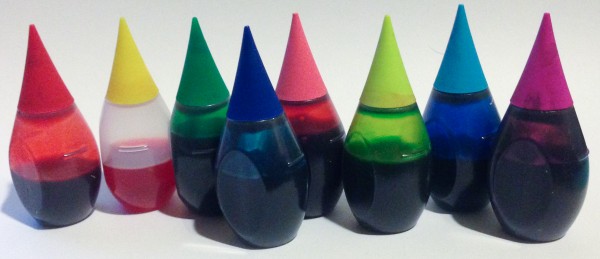
The colors with a * are the straight food coloring colors. An “assorted” box has red, yellow, green blue.  A “neon” box has neon pink, neon green, neon blue and neon purple.  All of my colors are created from those 8 basic colors.  The “dye” colors are across the top, the numbers are the number of drops of food coloring.  The colored bars are an approximation of the colors.  The calibration of my monitor/printer makes these pretty close for me, but yours may shift the colors.  If in doubt, do a swatch.


dyescolorchartA few things to note if you try this yourself.

  • The mini-skeins are the super-saturated version of the color.  There was a lot of dye and not very much fiber.  You can get lighter colors by using the same amount of dye and a lot more fiber (and more water.)  Or to explain it another way:  10 drops of food coloring is enough to dye about .5 oz of yarn to a pretty saturated color.  If I used 10 drops of food coloring and 2 oz of yarn I would get a more pastel shade.  The amount of water only matters so that the dye has enough room to move around.
  • Food-coloring and koolaid are “set” when you have exhausted the color.  That means that the yarn has grabbed all of it and the liquid is completely clear in your container.  Your goal should always be to heat it long enough to exhaust the dye.  I try not to dump extra dye down the sink, but get it all in my fiber.
  • I dyed all of my samples on superwash merino.  Your mileage may vary.  Superwash wool tends to soak up dye like nobody’s business.  Other kinds of yarn may not be as saturated; our roving was lighter colors. Water chemistry will also effect your colors.  I taught in Idaho once and I was shocked at how much different my go-to dye colors turned out in the very different water there vs. my house.
  • I have heard mixed results about the long-term colorfastness of food-coloring and koolaid (from sources I trust.)  If in doubt, I wouldn’t use koolaid dye for something I hope would be passed down from generation to generation.  But for new mittens that I will wear out after a season or two?  It will definitely work for that.

kidsdye2

Here’s my method for dyeing yarn and roving.

  1. Soak the fiber in plain white vinegar for about 1/2 an hour.  I did this at home before I went to join the afterschool kids.  That way we didn’t need to wait for it.  Drain out most of the vinegar.  (Don’t wring it out very aggressively or you can felt your fibers.)
  2. With the koolaid/yarn, we immersion dyed, so I had the kids put the koolaid powder in small tupperware containers and I filled them with boiling water.  (These are 6th graders so they could handle that.)  Add your fiber (no stirring!) and let it sit until it is cooled.  There was enough heat from the boiling water that it exhausted the dye.  (To make 2 color skeins, we just stretched the yarn across 2 containers and put a towel underneath to catch the drips).
  3. For the food coloring/roving, I didn’t want them to work hot.  So we just mixed the drops of food coloring in squeeze bottles and filled with water.  We put the roving on plastic wrap and they squirted the colors and gently pressed it down to get the color all the way through the fiber.  When they were done, we folded the long ends of the plastic wrap over the roving and rolled the whole thing up like a cinnamon roll and popped it into a ziploc bag.  When I got home, I put each one into the microwave and steamed for 2 minutes + rest 1 minute + 2 minutes until the dyes were exhausted.
  4. After the fiber was completely cool, then I immersed the yarn/roving in a sink full of room temperature water to soak for a few minutes and then drained and put it on drying racks.

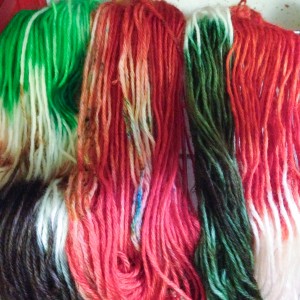
The spots and splotches in some of their yarn colors are because I let them try sprinkling dry koolaid powder in a different color over the yarn once it was immersed in the dye container.  It was a cool experiment!

kidsdye3

14 December, 2015

I Spy, Public Art & Everyday Objects

2015-12-14T11:16:45-06:00Everything Else|Comments Off on I Spy, Public Art & Everyday Objects

PPAIspy

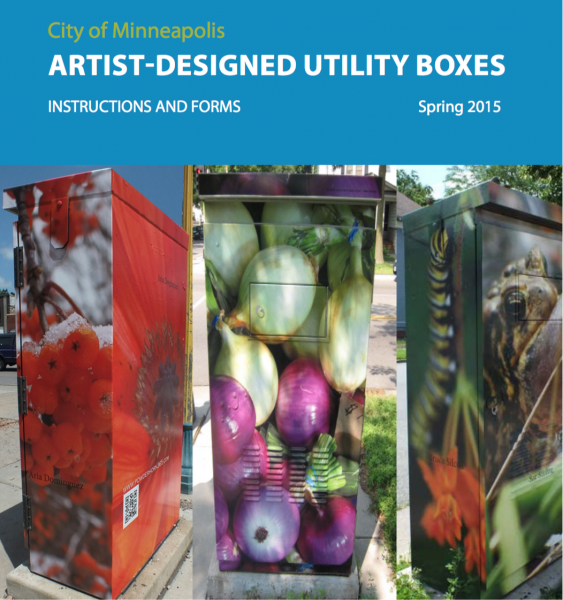
I have been working quietly behind the scenes on a new project for a couple of months.  The neighborhood that is home to Textile Center, Weavers Guild and where I spent a large part of my life during the last 15 years has a really enthusiastic neighborhood association.  And they decided to do a call for artists to make wraps for six (3 pairs) of the utility boxes in the neighborhood.  The City of Minneapolis has a program which allows artists to design these wraps and I was selected as the artist for Prospect Park.  Here are what some of the finished ones (by other artists) look like from the cover of their instruction booklet.  The idea is to bring some art into the community and to help discourage graffiti.

Screen Shot 2015-12-14 at 10.45.49 AM

I usually work in fabric and garments, as you all know, but the design skills for these utility box wraps are basically just the same.  I am making a 2-D design and shaping it around a 3-d object.  My first public art!

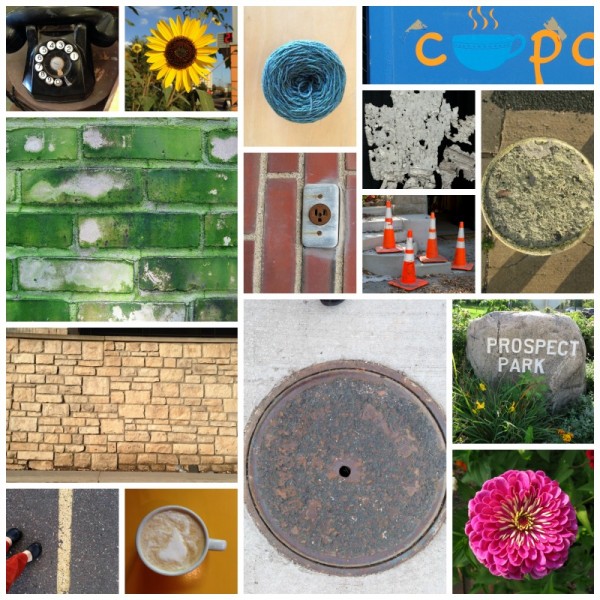
So, what to put on them?  My proposal to the neighborhood association was to create patterns from everyday objects.  Specifically, I spent several afternoons walking around the neighborhood surrounding these boxes taking photos of objects: flowers, bricks, signs, textures. I collected photos with a theme like circles or numbers and things that are iconic to the neighborhood. I tried to think of things that reminded me of the neighborhood, like the pink roses around the Prospect Park sign that are always buzzing full of bees in the summertime.  I also shot images of everyday objects that you might find in all of the businesses and houses nearby: clothespins, pencils, paintbrushes, safety pins. I have about 450 photos so far and you can see just a few of them up above.

My plan is to use these photos to create patterns, by cutting out, layering and manipulating the images to cover the utility boxes.  I also wanted a way for people to interact with the art, so along one side of the box, I am planning to include thumbnails of the original photos of some of the elements in the design.  This way you can play a game of “I Spy”, both looking for the sunflower or manhole cover within my design and looking for that same object in the neighborhood.  There are daycares, a school and community center all in this span of a few blocks, so I hope that the neighborhood kids will notice this.

I meet with my neighborhood committee this week for some feedback on the initial designs and I plan to post regularly here to document the progress of the project.  Just look for the “ProspectPark” category to follow along.  I am hoping they love what I have done so far and I can share some sneak peeks with you very soon.

27 October, 2015

It’s almost time for Halloween (a look back at our annual card)

2015-10-27T11:37:20-05:00Everything Else|1 Comment

HalloweenCollage

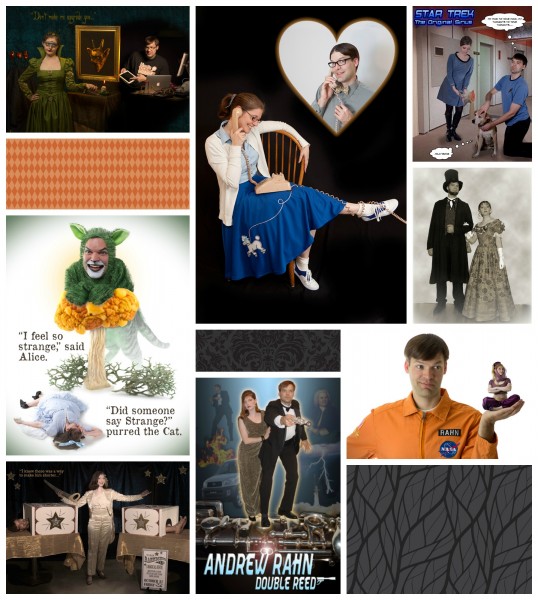
Halloween is my favorite holiday.  I imagine most of you have figured that out by now if you’ve been popping in here at the blog for any length of time.  Every year my husband and I do a Halloween photoshoot.  We’ve been doing this for years now.  Some people do photos for their Christmas cards, we do Halloween.  The collage above are some of the “greatest hits”.  (You should be able to click on the photo to see it larger.)   Each is about 80% photo and 20% Photoshop magic.  Clockwise they are:  The Evil Queen and the Magic Mirror (powered by Google), Sweethearts, Star Trek (with guest appearance of Lucy), Mr and Mrs. Lincoln, I Dream of Jeanne, Andrew Rahn: Double Reed, Vaudeville Magicians and Alice & the Cheshire Cat.  The theme for the year is always top secret and I am busily sewing the costumes for this year’s installment, which will be posted on Halloween.  I hope you are having fun this week with some costume or decorating projects to fit the season!

26 August, 2015

Jerome Grant Projects: Duet #2

2015-08-26T16:41:27-05:00An Artist's Life, Everything Else, Gallery Exhibitions|Comments Off on Jerome Grant Projects: Duet #2

My second project for my Jerome Grant is all about the story.  My partner Dawn and I have been friends since the 7th grade.  Dawn is now a professor, teaching art at a community college.  She isn’t a digital or fabric person at all; she gravitates towards printmaking and book arts.  I thought it would be fun to go “offline” with Dawn and write a series of postcards to one another.  I bought several packages of blank cards and a bunch of stamps and we mailed our conversation back and forth with one side of the card for words and one side for a sketch of something. She block printed, I water colored with tea and we talked about art.  Why do I hate working with the color red?  Do you have a “go to” doodle that you always draw when you don’t know what to draw?

Dawn really inspired me to do something hands on and get away from the computer a little bit.  So I started a series of designs based on cut paper collages made from found paper and junk mail.  I now have about 6 designs based on that idea and I am really loving that whole set of work.  We talked a little at the beginning of the project about making a garment that told a story. Could a dress be a book?

dots 2


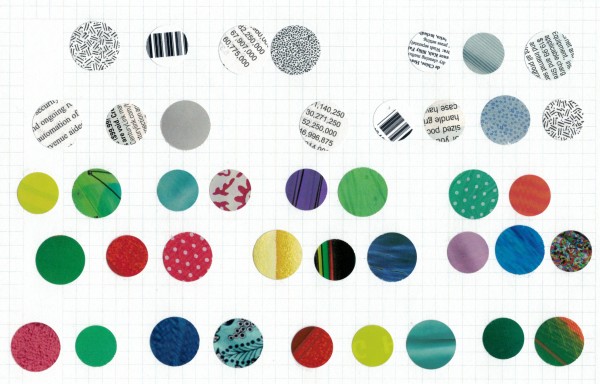
This design is the base I started from.  Two sizes of circle punches and a stack of catalogs and envelopes.  I made 4 like this that became the final fabric design.  They alternate between bright colors with no text and grey/black/white with text on them.  I wanted to incorporate text into the design to refer to that book idea, but I didn’t want it to be a literal story that you would read.  So I used text as a design element throughout.

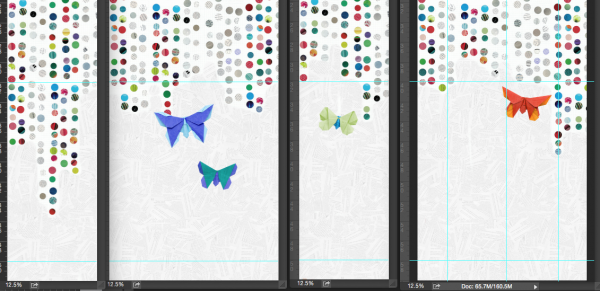
What kind of a story would a dress tell you?  It would have to be a “choose your own adventure”, where something you would do would be like turning the pages of the story.  So I created a text design from a torn up choose your own adventure book from the thrift store.  More text, but used in a textural way.  That is what makes the texture on the hem of the dress, which is shown here.  This is a screenshot of the actual dress panels as I was working on them.

Screen Shot 2015-07-15 at 12.23.23 PM


The origami butterflies came next.  I had made some fabric butterflies as a way of using up some pretty scraps for a show early in the spring.  And I loved that this design was evolving entirely from paper, so I made two kinds of butterflies.  These above were folded from origami paper and photographed to be layered into the design. And then I made 3-D fabric origami butterflies that embellish the dress.  (I have an affinity for origami butterflies.  My engagement ring was an origami butterfly folded from shiny silver paper.)

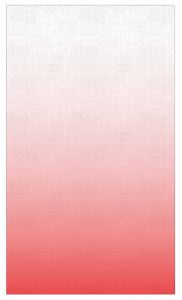
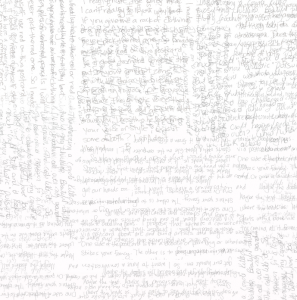
Finally I wanted to get our postcards incorporated into the design, so I scanned the text from several and created a final text design that is our handwriting with a color gradient over top.

Screen Shot 2015-08-26 at 4.31.11 PMScreen Shot 2015-08-26 at 4.31.48 PM

This design was printed on 2 yards of silk crepe to make a “scarf”.

Where does the “choose your own adventure” come in?  The dress is designed to be rearranged by the wearer.  Like a magnetic nametag, the fabric butterflies have neodymium magnets stitched to the back and another stitched to a felt backing.  The magnets let you put butterflies anywhere you like.  Up over the shoulder, all along the hem.  They also hold the scarf piece in place, so you can add a cowl back or an extra strap or a hood or a piece draped grecian style.

This one is called “Choose Your Own Adventure”.  (And I will post finished photos also after the show has opened.)

Go to Top