20 March, 2025

How do I Start to Learn Hand Embroidery?

2025-03-20T17:19:48-05:00Embroidery, Everything Else|1 Comment

I had a great email question a few days ago from a person who wanted to know how to get started learning to do hand embroidery. A friend of hers had taken several of my classes and said “Talk to Becka!” but she didn’t know what to choose. So I thought it would be helpful to write a post to help everyone find the right place for you to get started learning to embroider with me. I teach in a whole bunch of different formats so it can be hard to know where to start. Whether you like to learn in-person, online, from a book, from a pattern, or one-on-one, I’ve got everything broken down so you can find the right fit for you.

Beginners start here.

  • Check my Classes & Events page for upcoming Zoom and in-person classes. These class projects usually feature 1-3 different stitches so you can get an idea if you like to embroider and all of the materials are included so you don’t have to go out and buy a bunch of tools and materials.
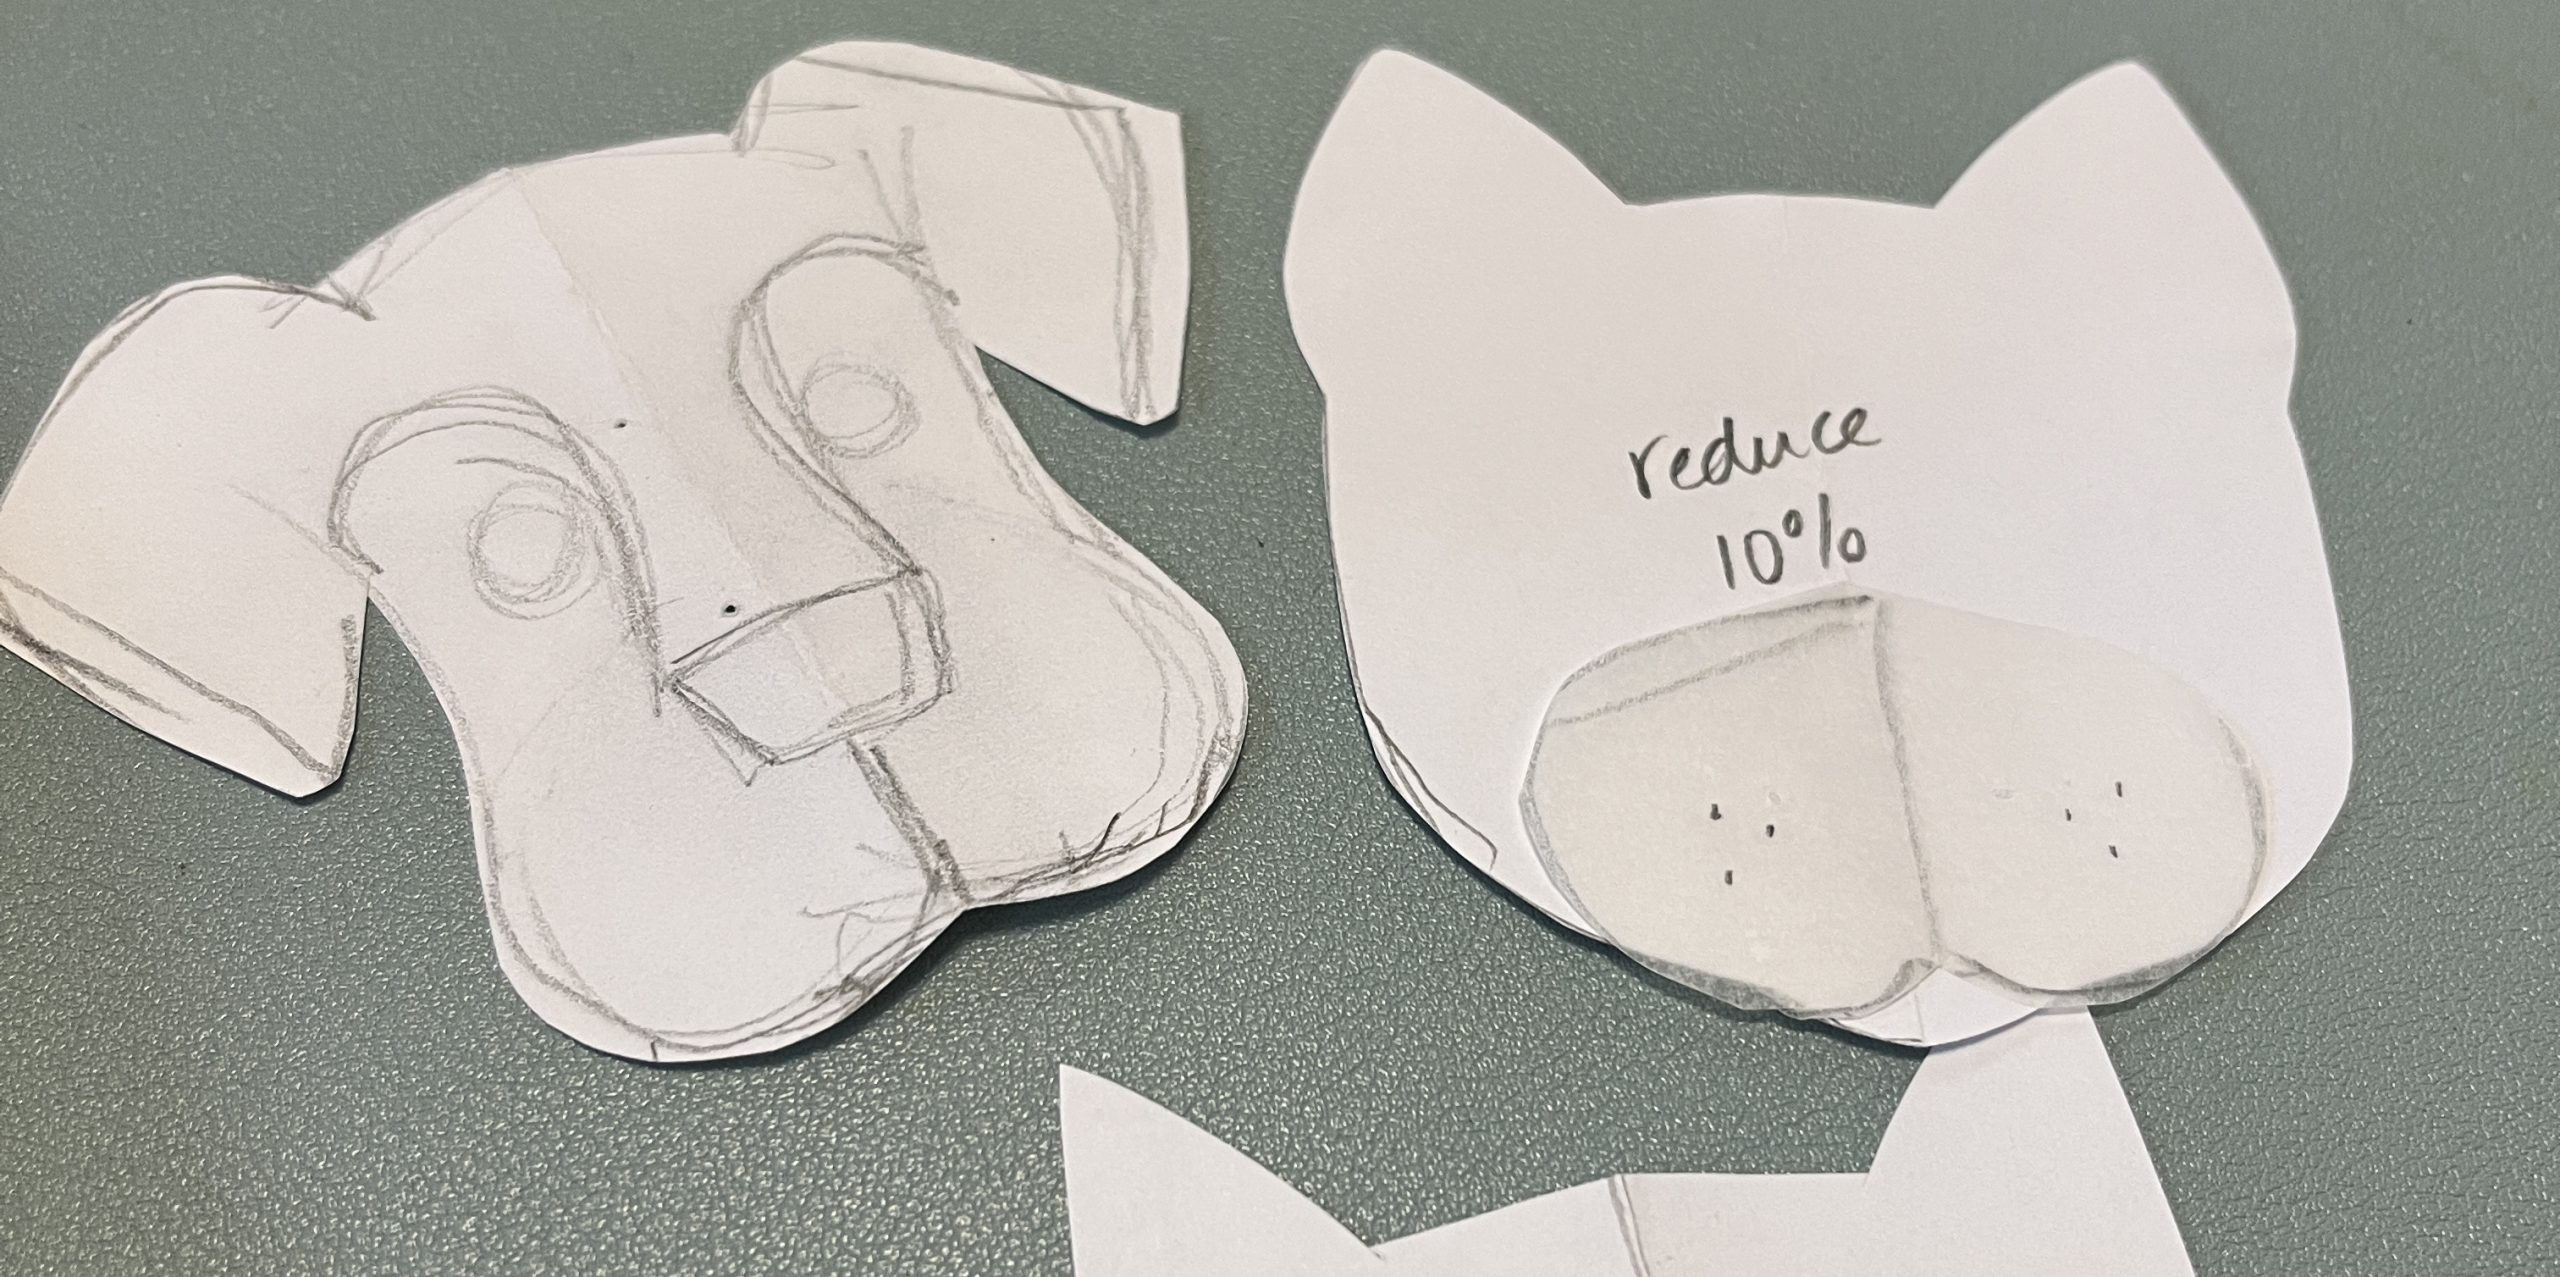
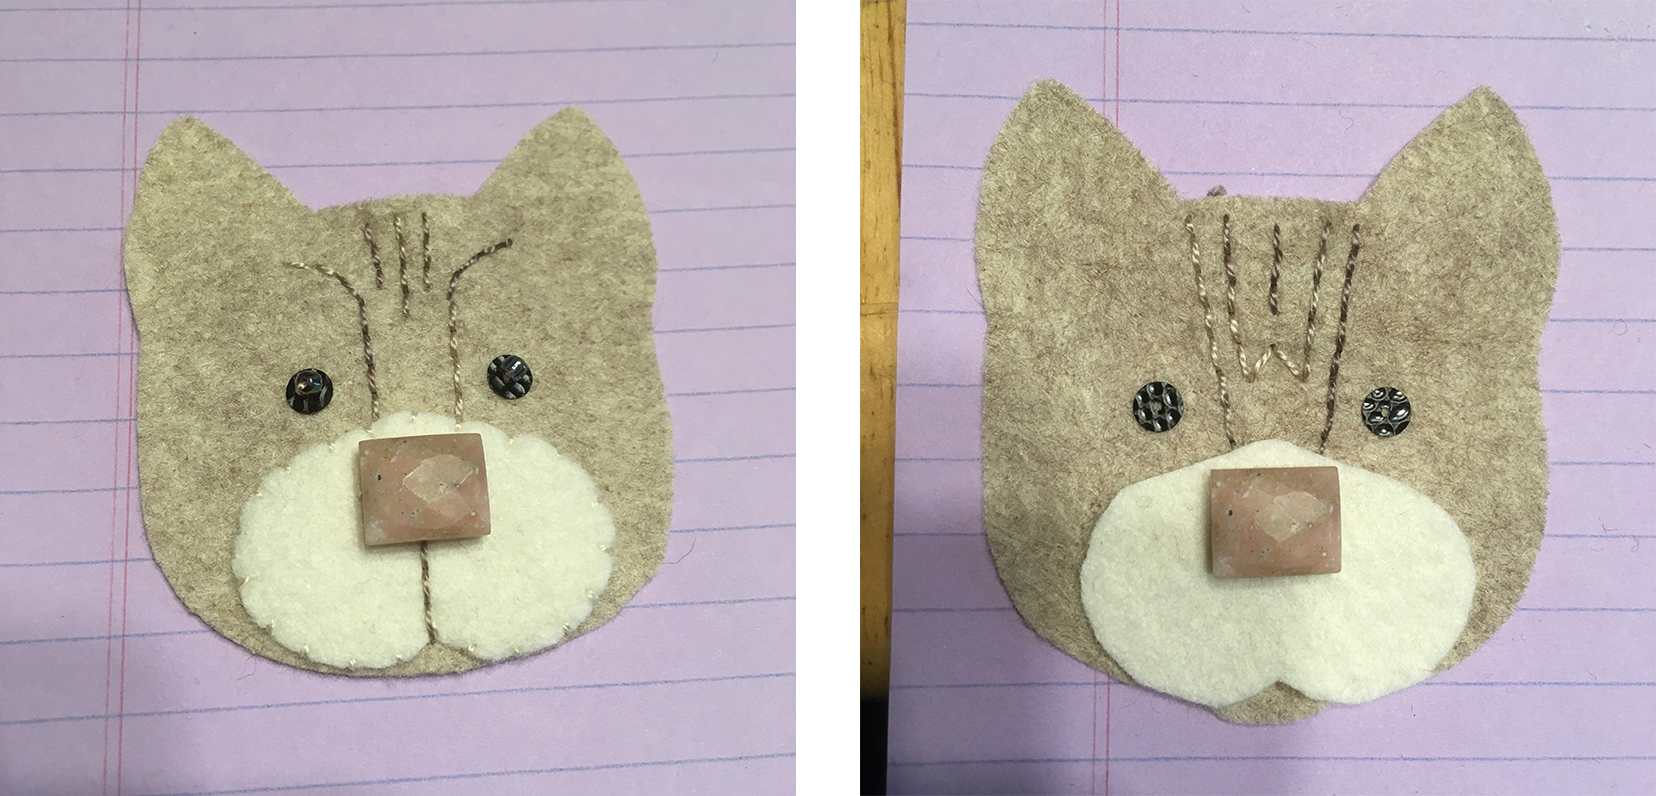
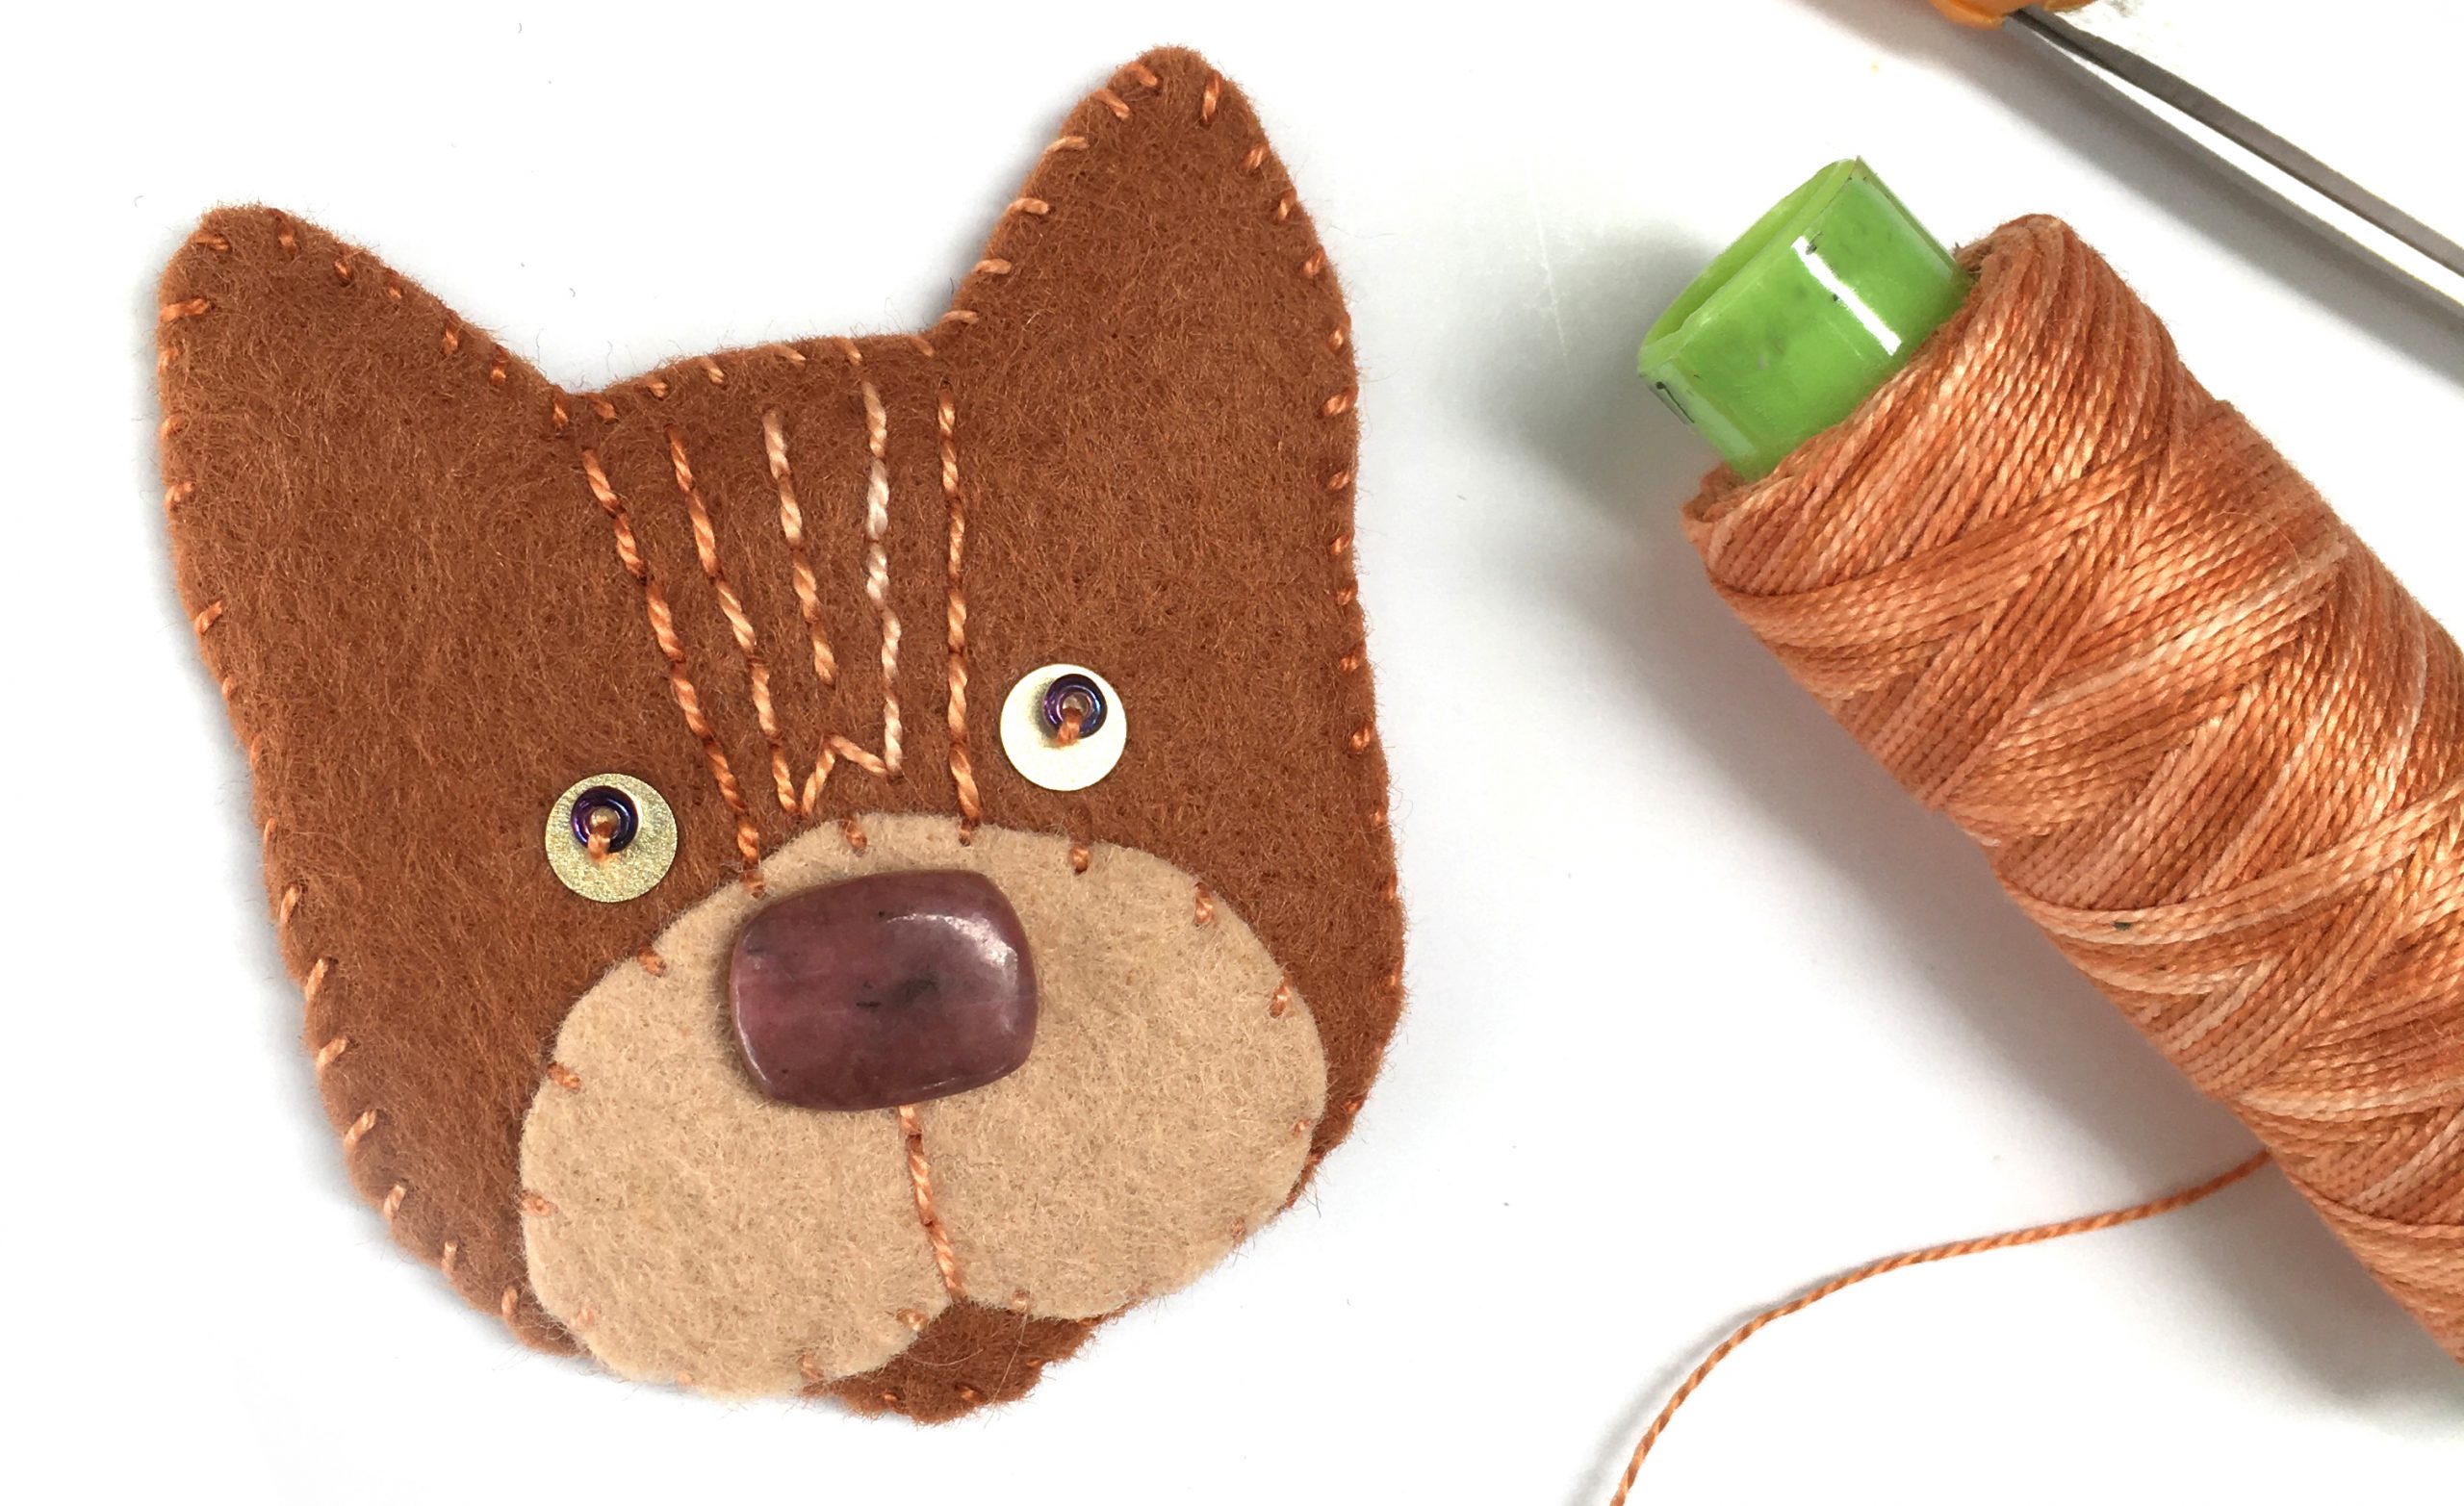
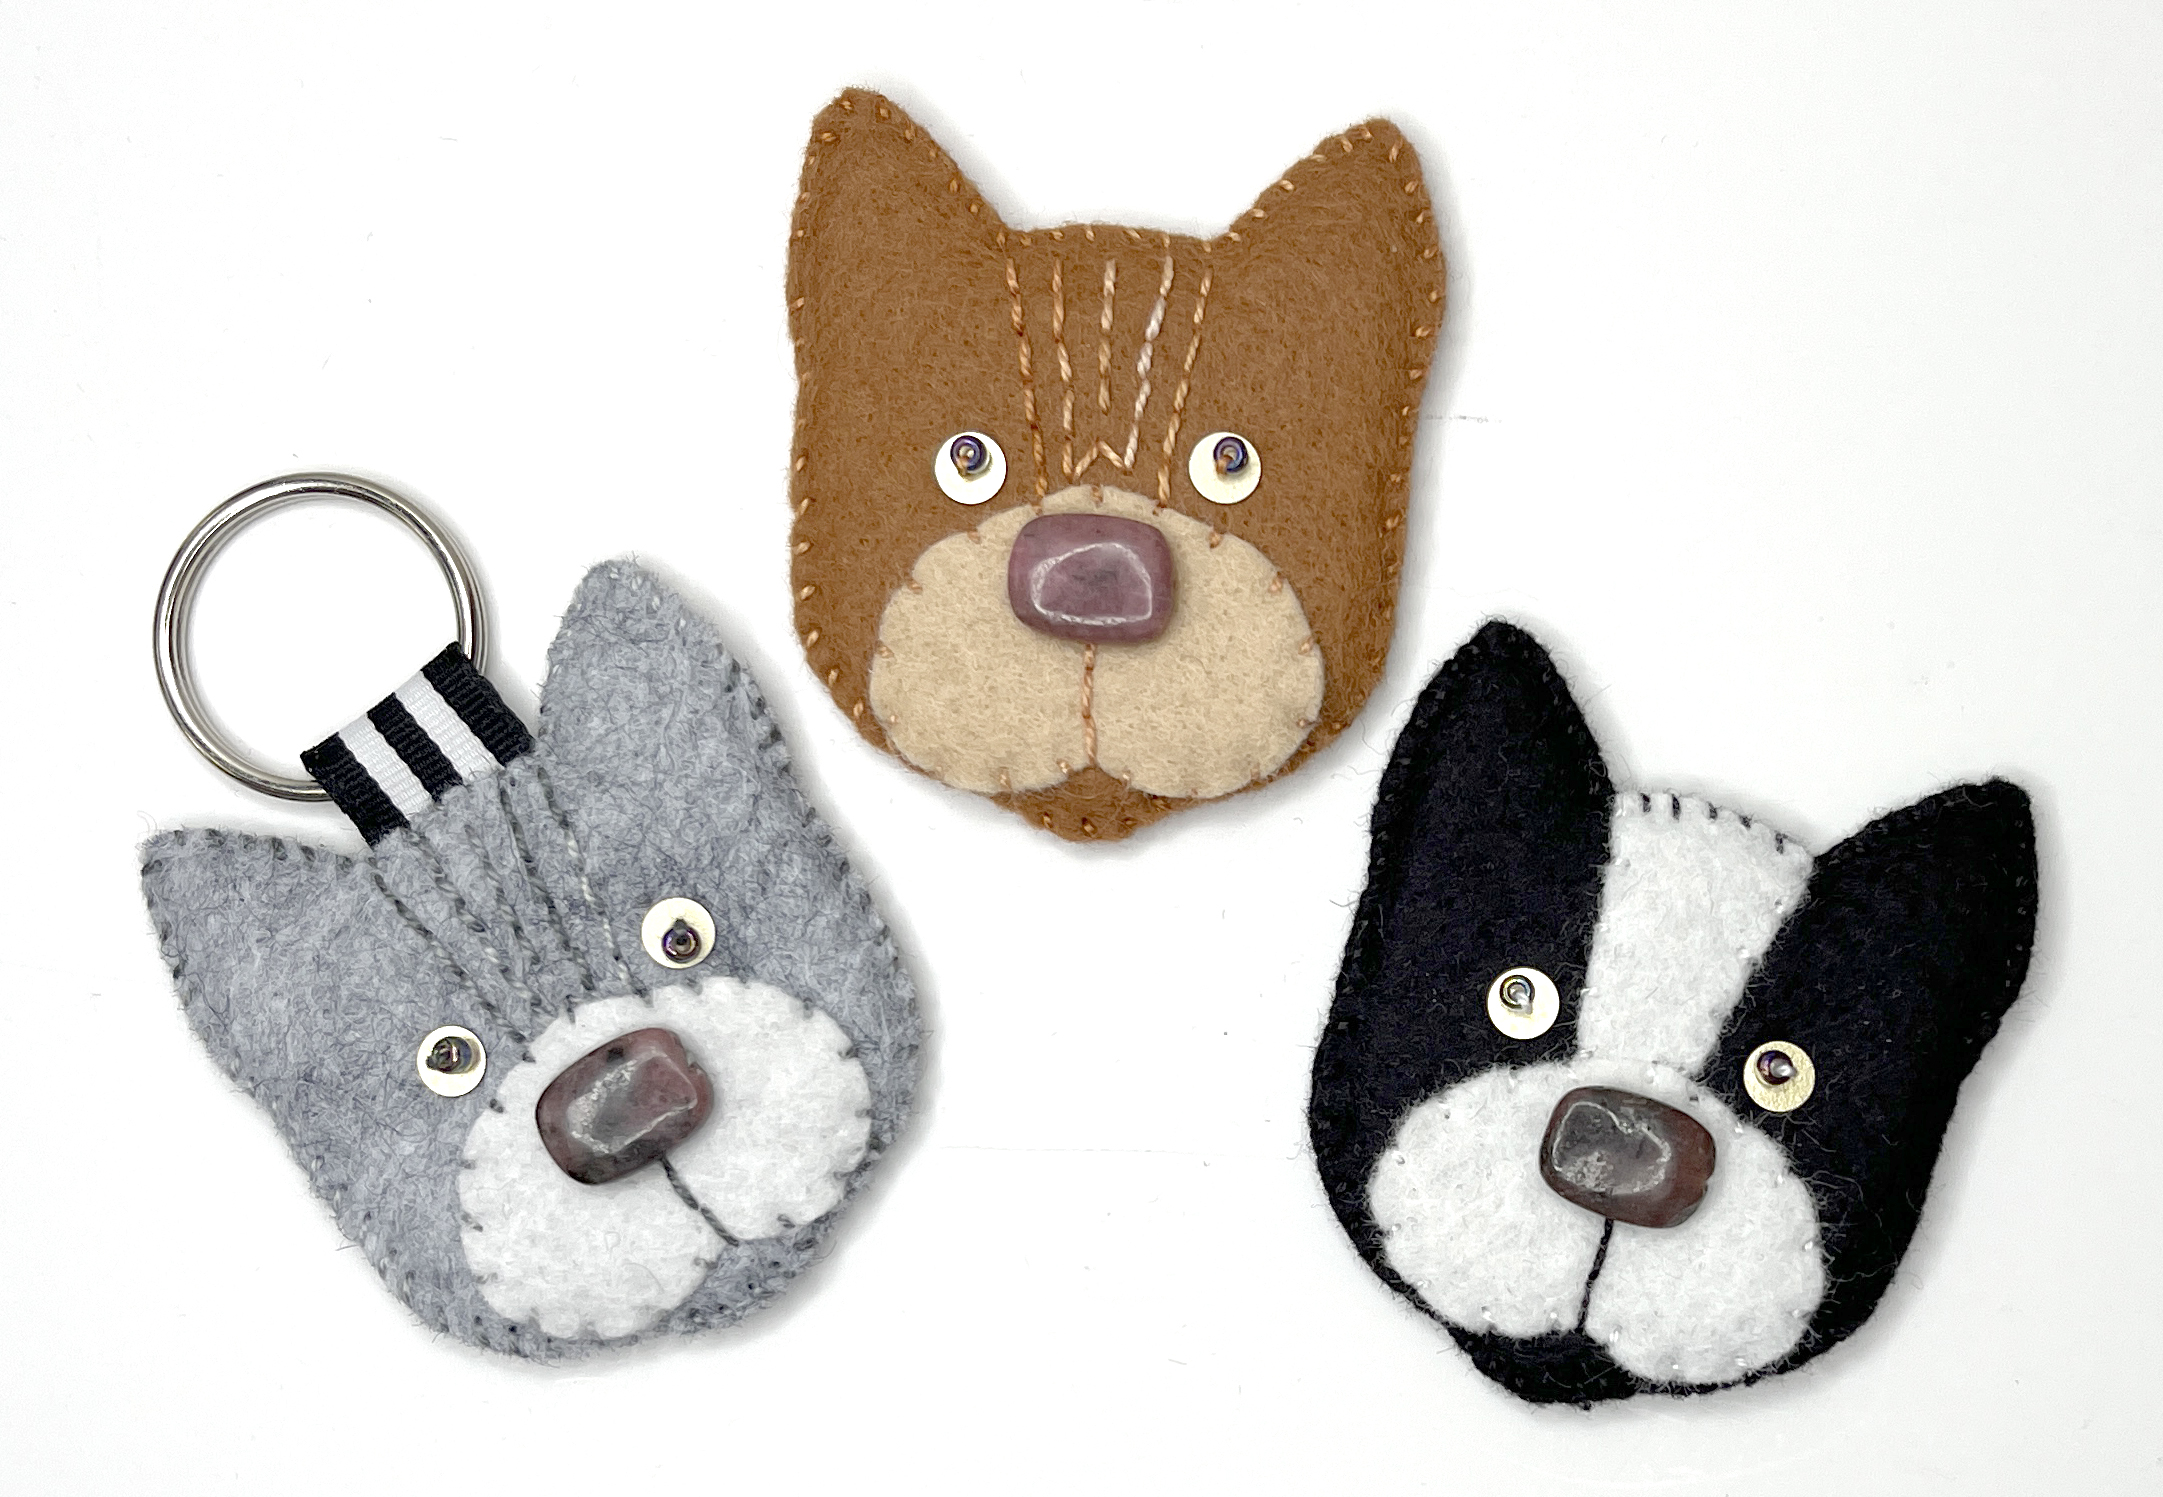
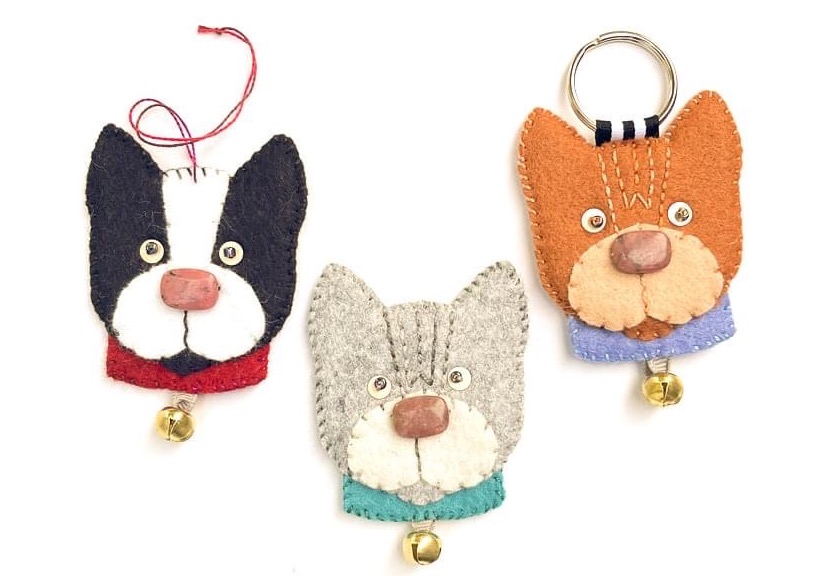
  • If you like to work from written instructions, then check out the patterns in my Etsy shop. The Sheep, Cat and Dog are especially great for beginners. These patterns need just basic materials like scissors, needle, thread, and some felt and they have a QR code link to demo videos of each stitch.
  • If you like to work from videos, then look on my Online Classes page. The Tropical Fish Bag or Sashiko Inspired Squares are great beginner classes. These each have a printed fabric panel with guidelines on it to help you make your stitches. You can order these from my Spoonflower shop and use any embroidery threads you have already.

Then try…

Ready for a challenge…

19 February, 2025

Preventing and Untying Knots in your Embroidery

2025-02-19T11:37:22-06:00Embroidery, Tutorials|Comments Off on Preventing and Untying Knots in your Embroidery

One of the most frustrating things about hand embroidery is when your thread ties itself in knots while you are stitching. I thought I would write a couple of tips to help prevent knots and how to untie them when they happen.

Preventing Knots

After you have threaded your needle, take a few seconds to “condition the thread”. That means pinching the eye of the needle so that it doesn’t come unthreaded and then running the length of the thread through your fingers a few times while you pull on it gently. What does conditioning do? It helps to push some extra twist out of your thread. Less twist means fewer knots.

As you stitch, some stitch movements can build up extra twist in your thread, especially with stitches that wrap around themselves, like french knots or twisted chain. Keep an eye on the extra thread as you stitch. If you see it start to twist back on itself, that is a knot waiting to happen. You can let go of extra twist by picking up your work and dropping the needle, allowing the extra twist to spin the needle around and fall out of the thread. Then you can go back to stitching.

Untying Knots

The most common kind of knot to get while you are stitching is a slip knot. They happen when the thread starts to twist up and a loop slips through another one. When you see a knot starting, the best thing to do is stop stitching and don’t pull it tighter.

A slip knot looks like a loop with a knot at the base of it and you will see two “legs” coming out of the bottom. If you pull on one side, the knot will tighten up, but if you pull on the other side, the knot will unravel easily. It’s hard to tell which side is which by just looking at it because it’s all based on how your thread twisted, but a gentle tug on each leg will usually show you how to loosen it. If you accidentally pull it too tight and nothing is slipping loose, you can sometimes unravel it by slipping your needle into the knot part and wiggling it around a little to loosen it up and allow the threads to slip.

16 February, 2024

Wooly Whales: A sparkling review of Joe’s Toes Slipper Kit

2024-02-16T17:57:34-06:00Embroidery, Weaving, Felting & FIbers|2 Comments

Sometimes the random things that pop up in your Instagram feed turn out to be something awesome. I spotted this slipper kit from Joe’s Toes while I was randomly scrolling a few evenings ago. I had been looking for a new pair of slippers after some sheepskin ones I ordered last fall turned out to be really uncomfortable. A kit sounded like fun!

I picked out the turquoise and teal kit and the description said I could customize it, so I requested the dark teal color for the uppers and green thread instead of rainbow. I knew I wanted to embroider or add something to the tops of them, but I didn’t have a plan when I picked out the kit.

The kit comes with pre-punched wool felt pieces for the upper, three layers for the soles, and the thread for stitching them together. You can choose from several options for the bottom layer or outsole. I picked the felt with latex, which is great on my hardwood floors and so far it’s not slippery at all.

I decided that I needed to stitch something fun on the uppers and after a little brainstorm my mom suggested humpback whales, which sounded really fun! So I dug through my stash of wool/rayon felt scraps and picked out a turquoise and blue-grey (peacock and pewter from Benzie Design) and some size 8 perle cotton. Even though the felt slipper pieces are about 3/16th inch thick, they are super easy to stitch into. I drew the whales onto some freezer paper so I could cut out all the little details easily. I basted them onto the uppers with a little glue stick. Once I had stitched around the whales, I added a few transparent sequins to add some sparkly bubbles.

I read through all of the instructions to assemble the slipper pieces and they offer a video, but I didn’t feel like I needed it. They have a couple of clever little notches that help you line up everything. Although they suggest using a backstitch to put everything together, which I’m sure works great, I decided to go with a double running stitch because I thought it would be a little neater on both the top and bottom.

These were so much fun to stitch! The pre-punched holes make it really easy even though you are stitching through four thick layers. I couldn’t wait to try them on.

Overall, the kit was packaged nicely, the instructions are great, the materials are super nice, and it shipped fast. I loved that I could customize it to the colors I wanted. I am just delighted with the results!

26 June, 2023

My Favorite Hand-Embroidery Threads: Eleganza Perle Cotton & Kreinik Very Fine Braid

2023-06-26T18:42:27-05:00Classes & Teaching, Embroidery|2 Comments

I’ve been teaching a weekly online embroidery class for more than a year now and although my regular students know my favorite threads, I thought it would be great to talk a little more about them outside of class. I do a LOT of hand embroidery on both paper and fabric so I use threads nearly every day. I just finished a large project using all 6-stranded DMC floss, which is probably the kind of thread that most people are familiar with, but it turns out that it’s not my favorite one. So, let me tell you about the ones that are my favorites.

Eleganza Perle Cotton

The threads shown on the left side above are all #8 Eleganza Perle Cotton made by Wonderfil. They have had artist Sue Spargo design a line of colors for them and these are my absolute favorite threads to stitch with. Perle cotton is a little different than 6-stranded embroidery floss. Instead of 6 strands, perle cotton has only 2 and they are meant to stay twisted together; you don’t separate them like you can with floss. The threads are incredibly smooth and shiny and I don’t think they knot up as easily when you stitch them. The variegated colors are particularly nice because the color changes are pretty close together, so when you stitch the color changes often and you don’t get long stretches of the same color. There are also some unusual color combos in the variegated threads, like this one called “Conga Line” which I like when I am stitching.

Pictured are Welsh Poppy EZ16 (orange), Paradise Blue EZ10 (blue), Conga Line EZM47 (variegated), Mounted Trousers EZ57 (deep green).

Kreinik #4 Very Fine Braid

I have tried so many different metallic threads over the years and they are always stiff, rough and fray easily. They are difficult to stitch with and some stitches just look ugly because of the stiffness of the threads. The Kreinik braids are completely different. They are still a little more challenging than perle cotton, but the #4 Very Fine Braid is much smoother and easier to stitch with. They are sturdy and they don’t leave your piece feeling rough and scratchy. The threads are very sparkly and come in so many colors. It’s not just silver, gold, red and green! I usually get mine on Etsy because Kreinik doesn’t sell directly from their website, but it’s pretty easy to find.

Pictured above are Gold 002, Vintage Burgundy 153V and Aquamarine 684. “Golden” Mrs. Santa shown below is from a pattern by mmmcrafts, stitched by me.

21 October, 2021

Designing Kits (and classes) behind the scenes

2021-10-21T12:46:10-05:00Classes & Teaching, Embroidery, Etsy, Sewing & Design|1 Comment

I LOVE making kits. I like designing small projects and sourcing beautiful materials. I even love the meditative afternoon of packaging things all up. It goes along with my love of teaching. For me, a kit is like a “class in a box” that you can jump into at any time. Instead of talking and demonstrating, I have the creative challenge of figuring out how to capture the important steps in photos and how to write the instructions to make them as simple and straightforward as possible. It’s a different kind of teaching, but for me it’s just as much fun.

This week has been all about cats. The cats design started as a request from students in a class that I taught with a bead embroidered dog. That dog is something I designed for a virtual class with the local county library, but then I loved it so much, I also turned it into a kit. Students in that class said “You should do cats!” and so I thought it would be fun to talk about how I designed those cats.

I always start with a sketch on paper and in this case since I already had the dog design, I wanted to make the two go together and share a similar style. So I started with my dog pattern pieces and sketched cat shapes over top of them.

My first version was too big, but I liked the shape. My next step is to re-draw the pattern pieces in Illustrator, so I made myself a note to reduce the size. That’s super easy to do once it’s in a digital format. I scanned the paper pieces and traced over them to create the pattern outlines. Then I printed out versions at a couple of different sizes so I could check it next to the dog and make sure I liked the way they worked together.

Next I started working on their faces and the embroidery. The first version, I tried to make curved eyebrows like the dog design has, but it made the cats look really angry. So I made another sample and decided to try and do tabby cat stripes instead. I liked this one a lot better. At this point in the design process, I make a lot of samples. Often if I can see they just aren’t right, I cut them apart and reuse pieces like the nose beads for the next version. I often use scrap felt so sometimes the colors are a little wacky. The beads I used here as a stand in for the nose were a little too big and square. My dog design used black sequins and black beads for the nose, but the cats looked wrong with the dark contrast. (My black and white version looked more like a skunk than a cat!)

So I swapped gold sequins for the black and found the perfect pinkish stone beads for noses. Next is choosing felt colors for the finished cats. I know that people love to make things that look like their own pet. I absolutely do. That’s why the dog kits have yellow, chocolate or black lab versions. So for the cats, I wanted three different colors too. These are loosely based on my sister’s three cats: a grey tabby, an orange tabby and a tuxedo (hers is all black). I get all of my felt from an Etsy seller because I love to support other small businesses with my small business whenever possible. So I have a color card with all of the colors of felt she carries and I spent a lot of time picking just the right colors for these. The orange tabby was definitely the hardest color choice to make. It is a darker color than the orange tabby I had when I was growing up, but it turns out that there aren’t a lot of shades of nice orange felt available. I like this combo.

Next I make up the “final” samples that I will use for the kits and then I make up one more where I photograph each step as I go so I can write the instructions.

I like to give lots of options for “what do I do with it” when creating kits. I originally thought of these as pins, but not everyone likes big pins on their jacket like I do, so I also show how to finish these with a keyring or to put a hanger on them and use them like an ornament (not pictured). I’ve seen people talk themselves out of making things that they really love because they “don’t know what to do with it” so I think the more ideas I can give, the better! (A class member also suggested making magnets, which I think is an awesome idea.)

I decided it would be fun to teach this one as a class before I launched it as a kit. So a week or so ago, I did a Zoom class and a group of us made these cats together. It was so much fun! When I was sending things out to the members of the class, we chatted about their cats, and I realized that being able to personalize your cat was really important, so I decided that every kit should have a little extra felt so you could make your felt cat look like *your* cat if you wanted to by adding extra stripes or patches. We also played around with a couple of different ways of adding whiskers.

When I got done with virtual class, I went back through my kit instructions really carefully and thought about all of the things we talked about in class and made sure I included those little details in the step-by-steps. I thought it was all done and ready to launch so I set up to take photos for the Etsy listing so I could post it later in the week.

It wasn’t until I was putting together a kit for a different class that I started thinking about these cats again and realized they weren’t quite finished. I attended a webinar by Spoonflower and Lilla Rogers this morning and we had a conversation about “pretty”. She talked a lot about that subjective “pretty” factor that makes designs really appealing and how that’s something she looks for. That’s exactly what these cats were missing: that little bit of something that took them from just a cute cat to “I have to make that”. So I went back to the drawing board.

When I was a kid, our cat Bob was an indoor/outdoor adventurer and he was a little too good at catching birds. So my mom got him a collar and put jingle bells on it so he couldn’t be quite as stealthy. So I grabbed some scraps of felt and made a collar with a jingle bell for my felt cats. Bingo! I LOVE these now. Whether it’s the nostalgia of thinking about my own favorite cat or the extra little detail that makes these a little more whimsical, I think the bell is exactly what they needed.

So you guessed it! More samples! I stitched three more samples, re-wrote a section of the instructions, and took a bunch more pictures and these became the finished cat designs. Yesterday I put together the first batch of kits for my Etsy shop. These kits are great for beginners and I hate how so often beginner (or kid-friendly) kits are made with low quality “cheap” materials. I love beautiful materials to work with anytime I am teaching, so these kits are made with my favorite materials: wool/rayon felt and perle cotton thread and stone and glass beads.

So now I have dogs, cats and sheep. What’s the next animal I should do in this series? I’d love to hear what you think!

11 January, 2021

Resting the Creative Brain through Stitching

2021-02-12T18:28:39-06:00An Artist's Life, Embroidery|1 Comment

I spent August stitching. And September. And October, November and December. In fact, I still have a box of stitchery on my dining room table and I pick up something almost every night. My job as an artist means that I am making things during most of the hours of my work days. Depending on the day I am writing, or photographing, or assembling kits or making things for my Etsy shops, or making art for one of half a dozen projects. But all of those things I do during my work day are “me powered”. I am the one designing, making the creative decisions, assembling the practice pieces, doing the edits. It’s a one-woman-show here and if I’m not doing the work, then nothing gets done. Most of the time I love it and I love being busy.

But with everything going on in 2020, my creative brain was feeling just tapped out. I’m sure this sounds familiar to some of you. I managed to keep a lot of my regular juggling balls in the air, so to speak, but I just didn’t have much capacity for taking on anything new or thinking of the next new thing or the next big art project. The class proposals that I used to put together in an afternoon were taking me a week (with a lot of procrastinating). I couldn’t think of anything to write here on the blog. I didn’t want to make art because it just felt like it was simultaneously too much to take on and why-bother-because-no-ones-going-to-see-it-anyway-because-everything-is-cancelled. It was really frustrating and exhausting, so I just kept getting sucked in to doomscrolling and reading Firefly novelizations because it was just easier.

Mr Scrooge Ornament, pattern by Larissa Holland mmmcrafts.etsy.com

Let me introduce you to my friend Mr. Scrooge. He’s an ornament pattern designed by my friend Larissa Holland at mmmcrafts. (This one’s stitched by me.) He’s grouchy and “bah humbug”ish and utterly delightful. At least I think so. In August, I decided that Mr. Scrooge was the perfect metaphor-in-an-ornament-form for 2020, so I decided to make Scrooges for my sisters as a Christmas gift. He’s made from embroidered and beaded felt and entirely hand sewn, so really a perfect kitchen table kind of project while watching vintage episodes of All Creatures Great and Small.

What I realized as I started stitching was that it was exactly what my brain needed: to follow someone else’s pattern. There are lots of studies and reports about the physical act of stitching or knitting and the meditative effects it has on the brain. But what I also came to realize is that there is something really restful in following a pattern and letting someone else steer the creative ship. Although I got to do the fun part of picking out the colors, for everything else, I didn’t have to problem solve, troubleshoot, design, or choose anything. I just followed the directions. Stitch the beads to lower left coat trim, then go to step 5.

Soon, almost every night after dinner, I would turn off the news and the social media and pull out some felt to stitch. Although I don’t do embroidery or beadwork for my business (for many reasons), I love both things and my hands have years of practice. It was fun to have a reason to dive into my stash of beads and vintage sequins for the perfect shade of rosy pink or try out that Kreinik metallic thread. I made one Scrooge. And then another. I stitched my way through the rest of the autumn making Santas, Scrooges and sardines for friends and family. And even though it’s January, I started a partridge and a pear for myself this week.

I realized, as I was thinking about writing this post about my new-found daily stitch practice, that it was the practice of craft that I needed right now. I didn’t make a lot of art this past year, but instead I found myself drawn to the craft: the precise, detailed, fine craft work with my hands. That’s what made me feel grounded and my brain feel a little less overwhelmed. And it’s not just me. My mom took up cross-stitch again this year after a couple of decades. My dad made me a turned wood rolling pin for Christmas. I saw a good friend post a finished cross-stitch piece on her Facebook feed just this morning. Another friend made a delicate straw star ornament for me that I have hanging in my window and I Instagram chatted with someone else about learning to make our first hard covered books coincidentally on the same week. My friend MissChiff has assigned herself 1000 hours of painting to practice her watercolor skills.

So maybe if you’ve run out of Mandalorian episodes and you want to reduce your mindless phone surfing, try folding some origami. Or teaching yourself cross stitch. Or finger knitting. Or sketching. Or making friendship bracelets. Maybe it’s the thing your brain needs too.

Go to Top