There is a lot going on in the world right now that makes some of us want to scream. I get it. But I think we need a little break from that to talk about a different kind of screaming.
Let me introduce you to Amber.

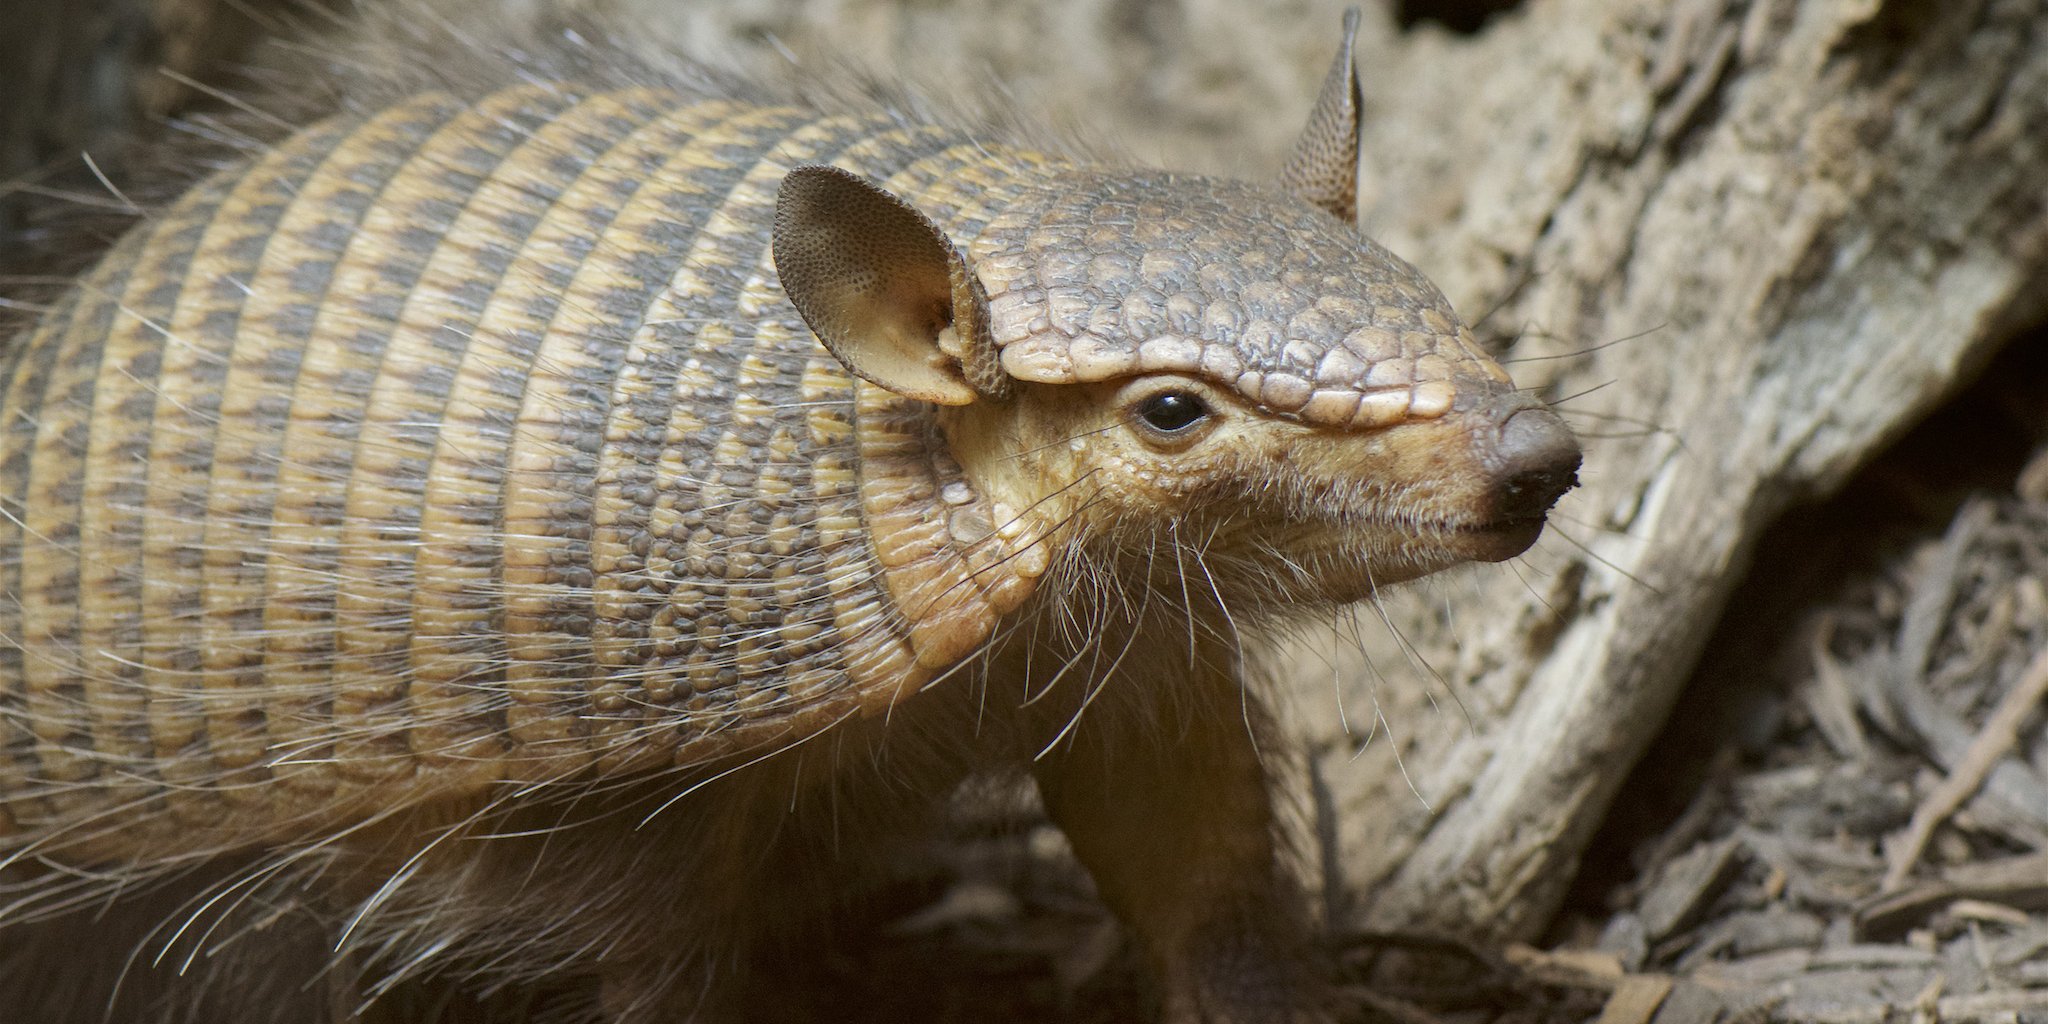
She’s a screaming hairy armadillo from the Smithsonian National Zoo. They tweeted about her last week. And my mom and I both saw it and were curious. Why was she called a “screaming” hairy armadillo? I get the parts about hairy and armadillo, but screaming?
So we Googled it.
And then we got the giggles. My dogs are now in love with Amber’s cousin-in-the-video and come running in the room when I play the sound. I told my mom “I think I need to design something with screaming hairy armadillos on it”. This might be the first fabric I have ever designed inspired by a sound. :)
So I thought about that for a couple of days. I have been working non-stop on grant/exhibition projects and I needed a day to goof off and design something fun. And I thought it would also be fun to talk a little about that process.
First I studied a bunch of armadillo photos and thought about how to make that great armor texture they have. Cut paper bits? Something photographic? Lace? Then I saw something pop up in my Facebook feed about making a paint texture with bubble wrap.
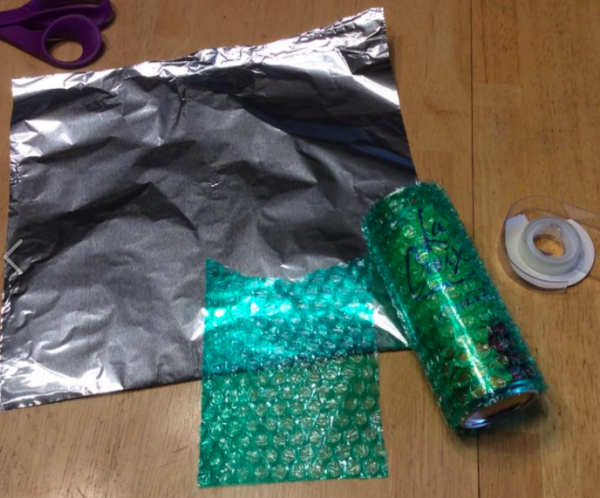
So I grabbed a piece of bubble wrap and some double-sided tape and made myself a roller around an empty soda can. I squirted out some paint on the tin foil, rolled some on the roller and painted some sheets of black card stock.
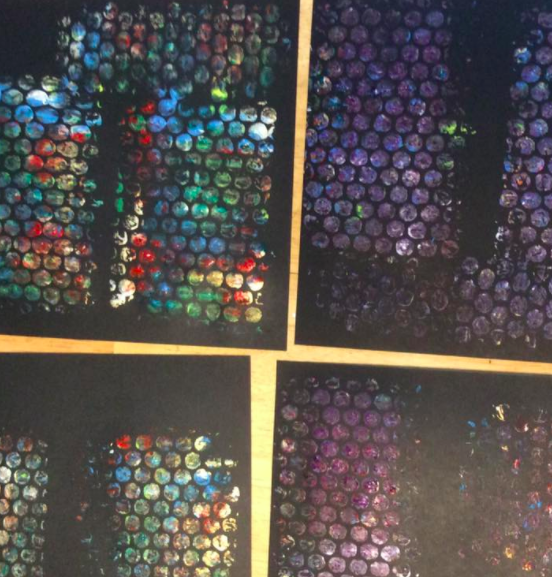
Messy, but perfect! Then I started drawing some armadillos. I did a quick pencil sketch and then drew over them with a fine sharpie pen.
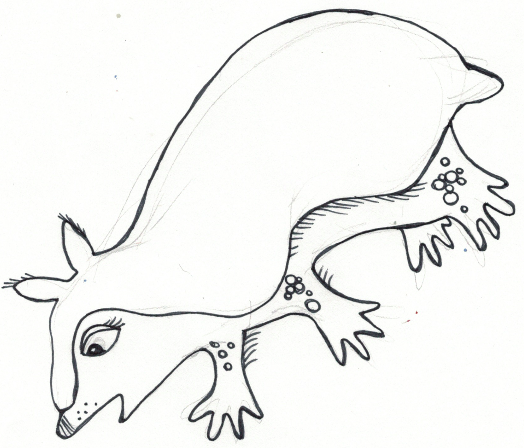
I thought I would just fill in their backs with the paint texture and have them be hand drawn. Turns out that they are perfectly cute little guys, but not very successful as fabric. I played with colors and fills and I just couldn’t get them to balance. The bubble wrap texture was so bold and dark and the lines here too delicate. Bleh. So I walked away for a bit.
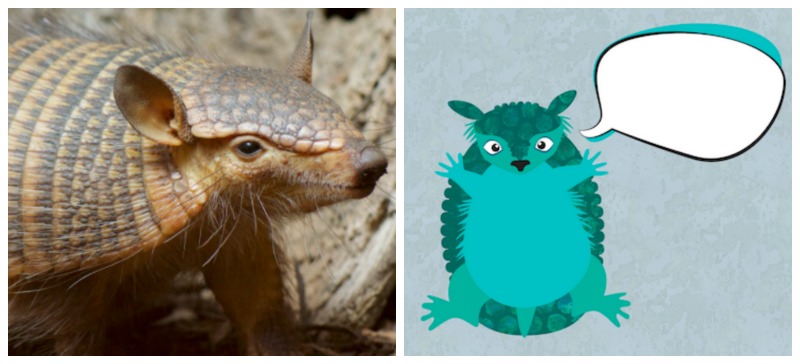
Then I tried re-drawing them using layered shapes in Illustrator. That worked a lot better. The big blocks of solid color were much more balanced with the bubble wrap texture. I am kind of in love with them.
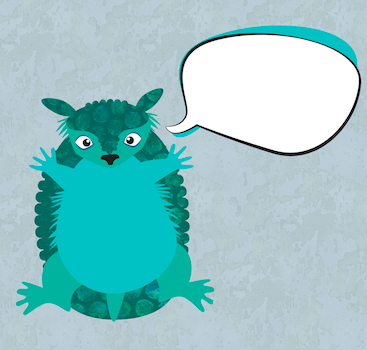
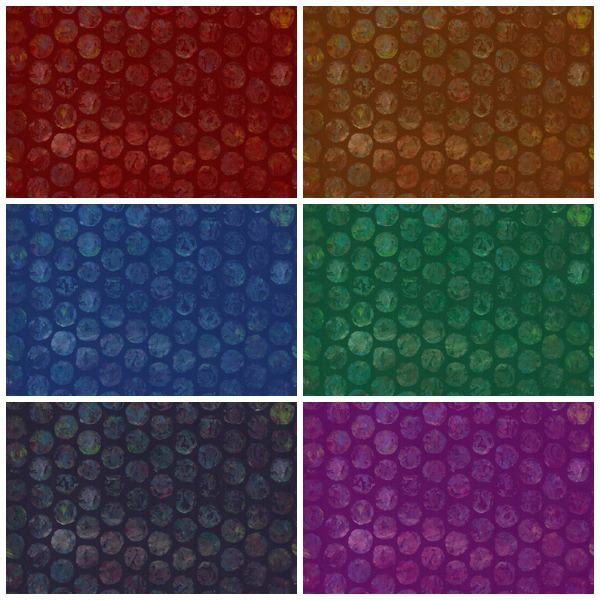
The bubble wrap also got a little tweaking. I changed the transparency of that layer to be about 45% and put it over the same base color of the armadillo (turquoise in this example). The black in the bubble wrap print darkened the color up so that I got a nice related shade and you can still see some of the rainbow colors in the paint.
Then, we all know they are screaming armadillos, so they needed to say something. Only I couldn’t make up my mind what they needed to say, so I actually did two versions of the design: one with blank speech bubbles and one with “just do it” sort of positive messages: read it, think, love, believe, speak up, try, make good art.
I thought it would be fun to have options. Want your armadillos to scream Happy Birthday? or Congrats? Or Happy Retirement? Then you can fill it in with fabric markers, paint, embroidery, or sharpies. A friend sent me a list of “g-rated” swear words yesterday. She remembered that I talked about a collaborative print I did in a class with phrases like “oh piddle” and “son of a biscuit” and I now think it would be super funny to do a version with the armadillos politely swearing up a blue streak. But that’s another day.

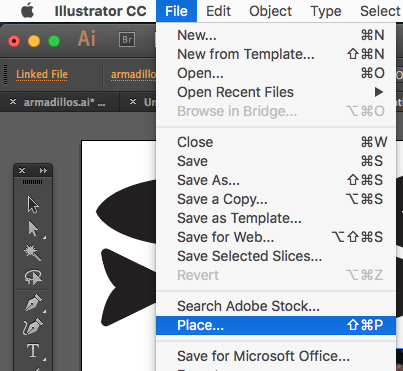
So I started with a blue and green colorway and did two color variations, one with bright earthy colors and another with pinks and purples. The background of the armadillos is a photo of peeling paint from a utility box. Sometimes amazing textures come from weird places. But it goes nicely with the other paint textures. I took the same bubble wrap scan and made a seamless texture out of it too. So you can also get coordinating “polkadots” that match the armadillo armor.
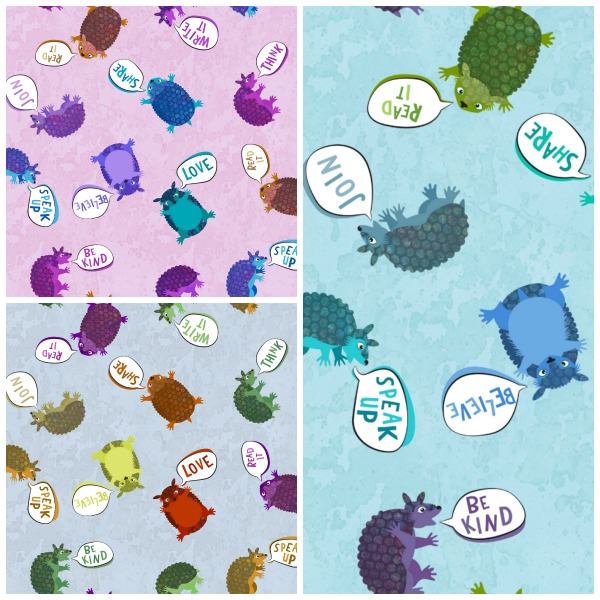
I named them “Activist Armadillos” and I have uploaded all 16 designs to Spoonflower as fabric or wrapping paper designs. I have ordered swatches of all of the versions and I will post an update when I get them and decide if I need to make any tweaks to the design. I can’t wait to see them.
I think the screaming armadillos would make an awesome tote bag with a lining of armor polkadots. I might have to make that for me.

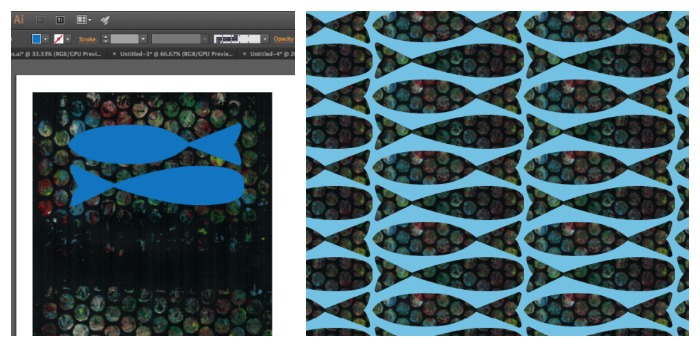
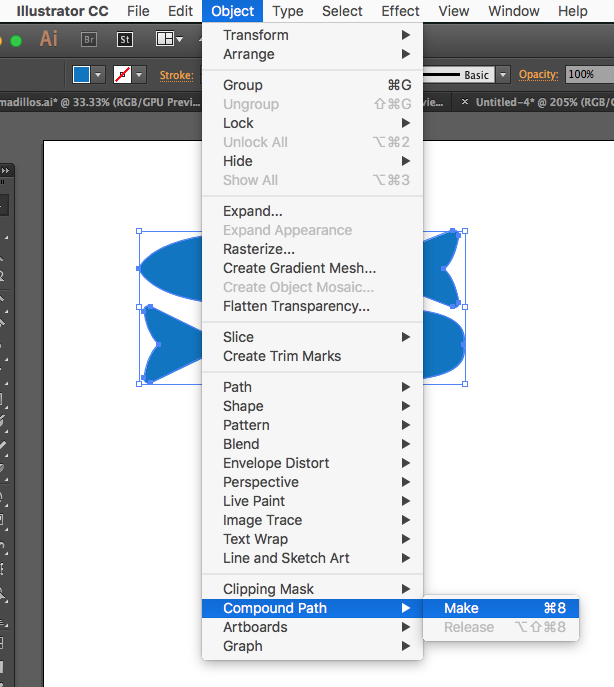
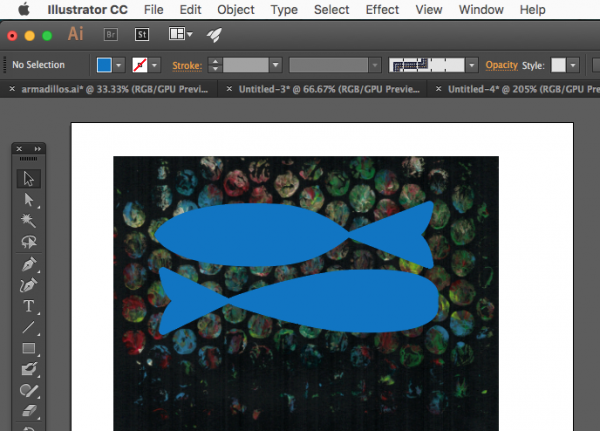
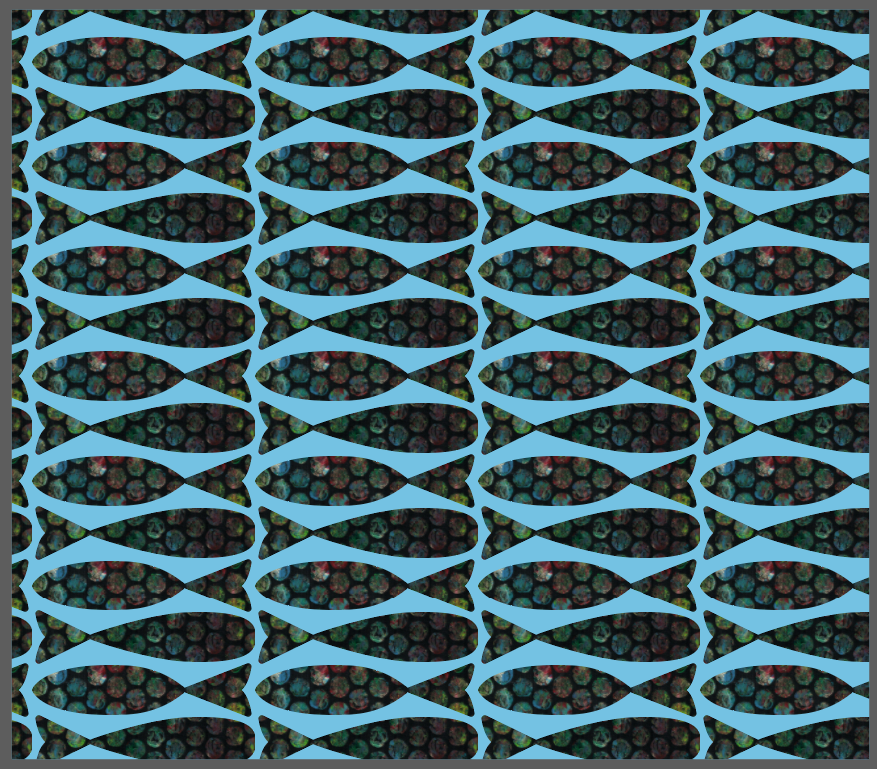
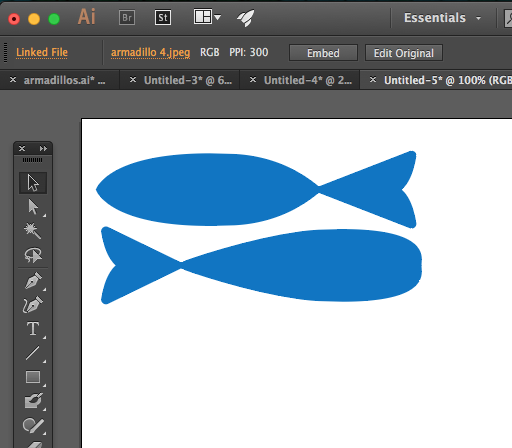 Start with the shape you want to cut out. For the armadillos it was a cloud shape that was their armor. For this example, I drew two simple fishy shapes.