30 October, 2020

This post is brought to you by me, or how affiliate links can make it harder for the rest of us

2020-11-15T14:06:37-06:00An Artist's Life, Classes & Teaching, Everything Else|1 Comment

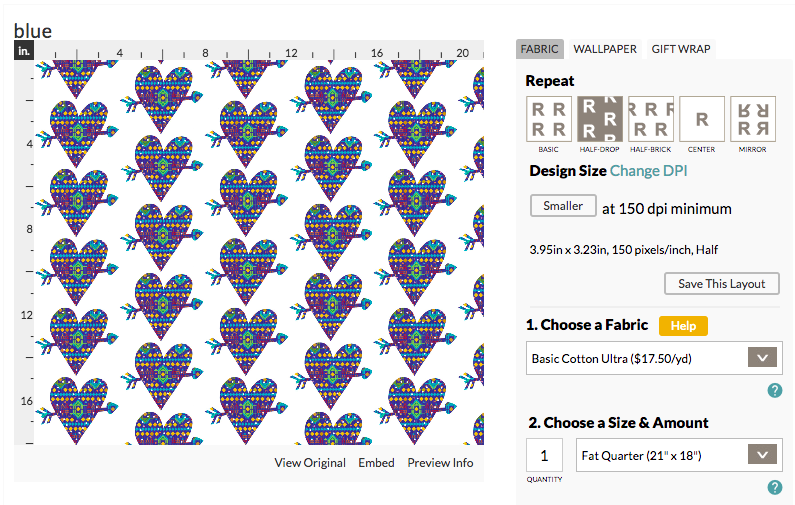
I got an email a few days ago asking me a question about a Spoonflower fabric. I get questions like this on a semi-regular basis with someone wanting a recommendation for a project they are working on. I am happy to chime in with my experience; I’ve used most of the fabrics for one project or another. My site is covered with Spoonflower fabric in use. But as I was writing the email answer, I thought to myself, “didn’t I already write a blog post that answered this?” It felt like deja vu. I checked and it turns out I hadn’t, but my first instinct was to just look up that post and send the person a link to it. After all, if I wrote up a post it’s probably more in depth, more detailed, more thoughtful than what I would answer writing you an email in response.

But, I was talking with another colleague and apparently there is a kerfluffle in the craft/knitting/sewing online community because a teacher responded to a question just like I was going to do: “here’s a link to a video on my website where I answer that question.” Only the problem is that the person asking didn’t like that response and accused the teacher of just being self-promotional. Apparently a personal email in response to a question would have been fine, but a link to a video answering the same question wasn’t. Wow.

This made me think about an Instagram account that I unfollowed just a couple of days ago. The person was demonstrating some kind of a tool in a video post. It was something about quilting, which isn’t really my thing, so I didn’t pay a lot of attention to the post. But there were lots of comments asking about a tool that they used. It was the follow up video to that which really caught my attention. In that follow up post, the IG Influencer basically went on a rant about how they weren’t going to answer the questions about the tool and they weren’t going to provide a link so everyone should just stop asking. The reason? They stated they get paid for doing promotional posts and this tool creator didn’t pay them to do a post and they don’t work for free. I found that so distasteful that I unfollowed right then.

So don’t get me wrong, I believe people should be paid for their work. This especially goes for artists and makers. But the Influencer culture has started to creep into what I do; that idea of being paid to make recommendations for things.

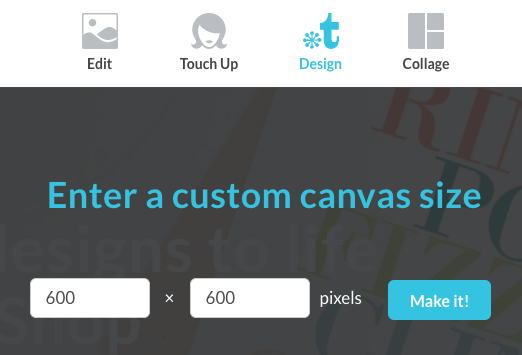
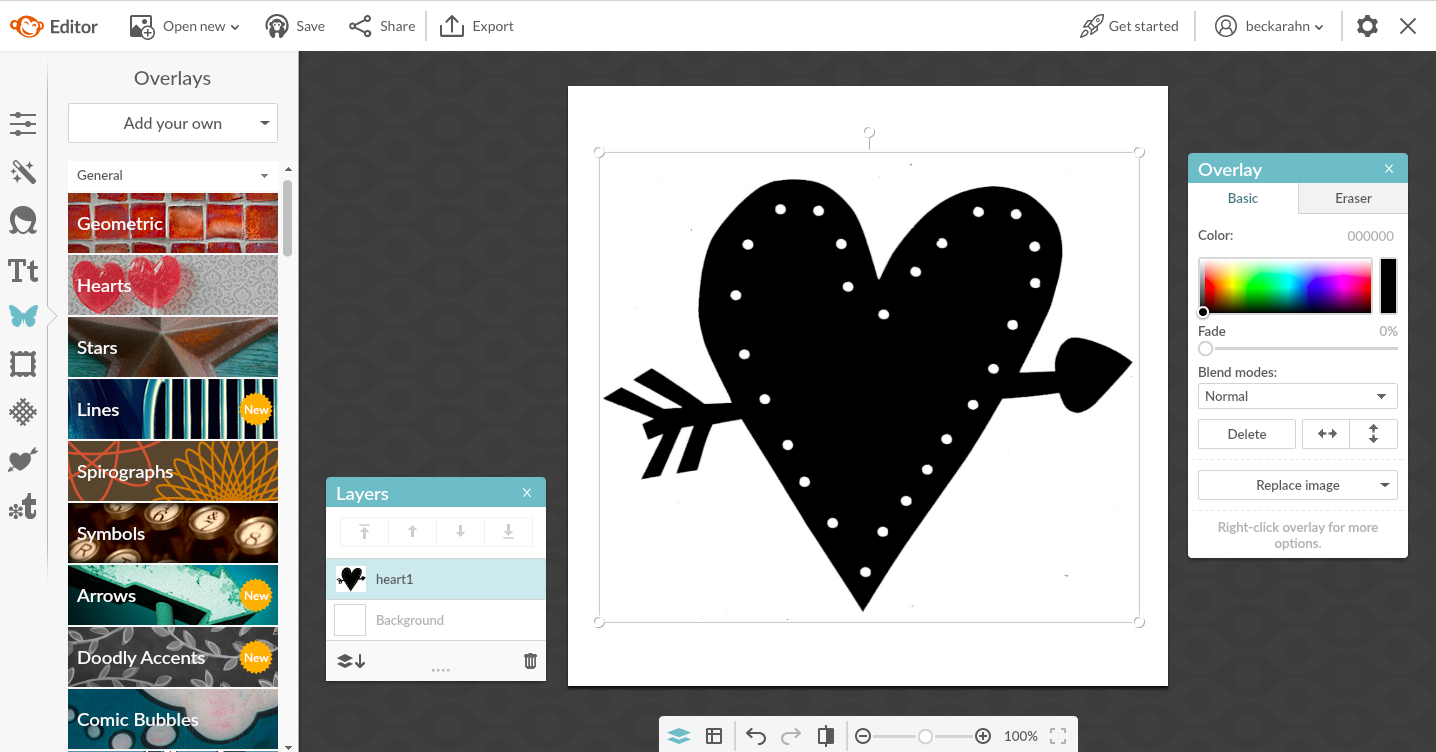
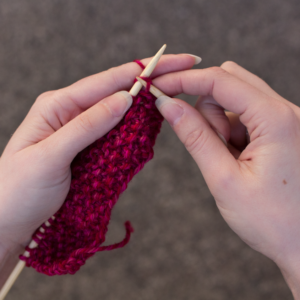
I teach about things which require some technology. It’s not like knitting where I can grab any set of needles made by anyone (or even some chopsticks) and show you how to do a cast on. I have to pick an app or a software and show you how to use it in order for you to learn how to make a repeating pattern or extract a HEX code. I can’t know every app on the planet, so I am going to pick one I know and I like working with it. I can teach you a class on how to sell your work online in big general ideas, but the class people really want is the one about how you understand advertising in Etsy; a very specific thing that they need help with. I can’t teach you anything about that without talking about Etsy. And in some ways that can start to feel a little bit like an infomercial.

So here’s where it starts to get sticky: when is a recommendation really a recommendation?
It’s hard to tell anymore. 

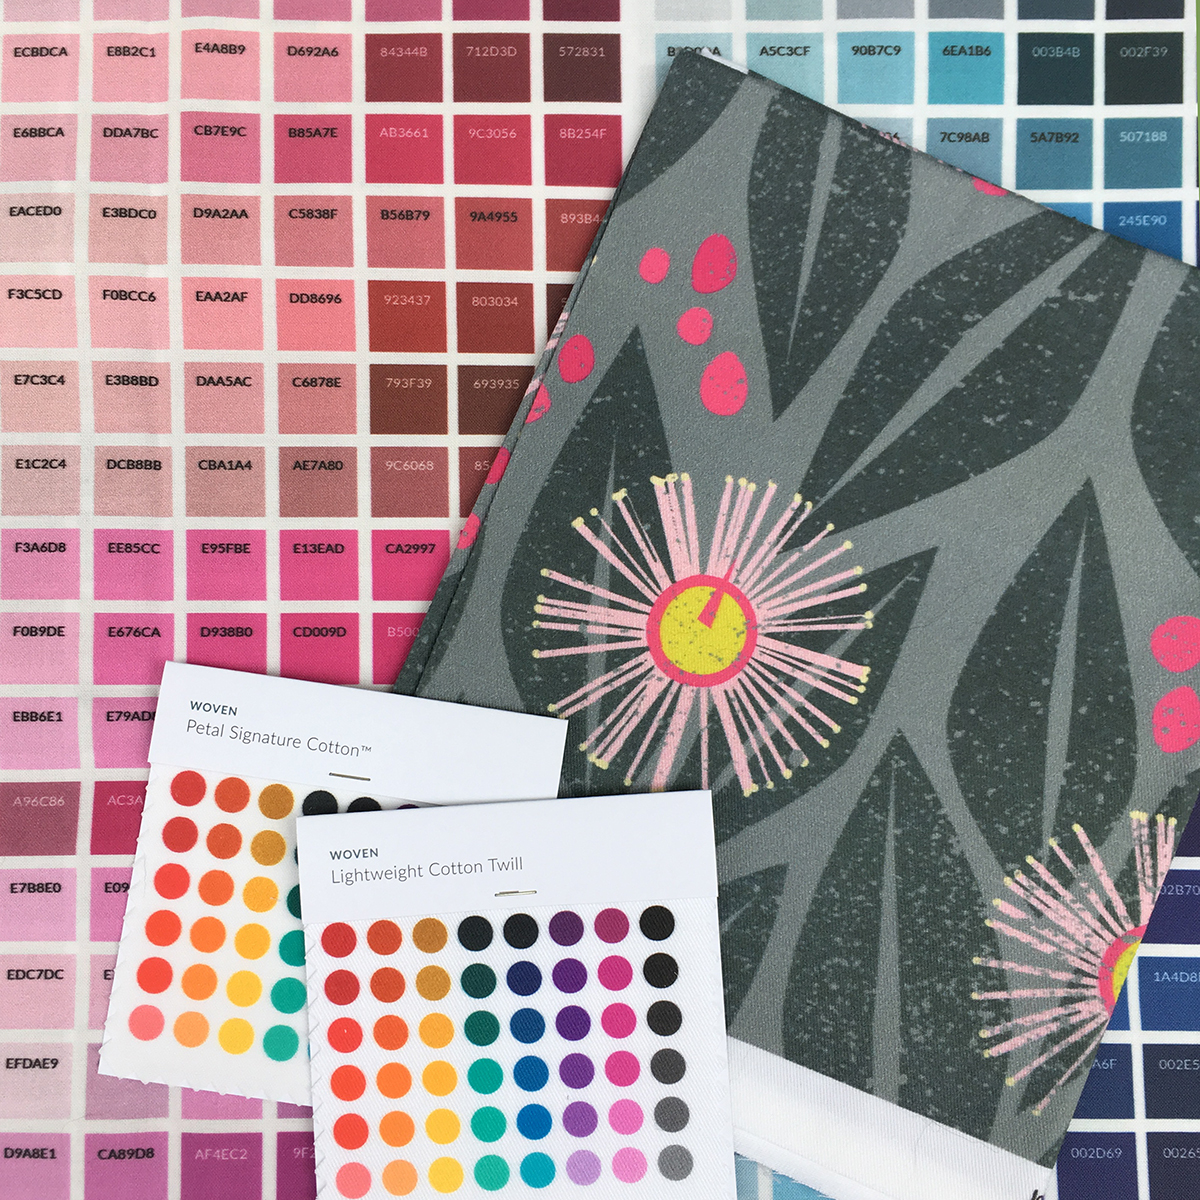
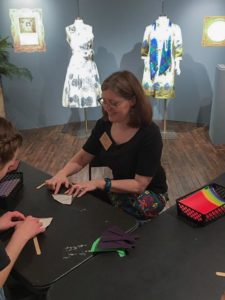
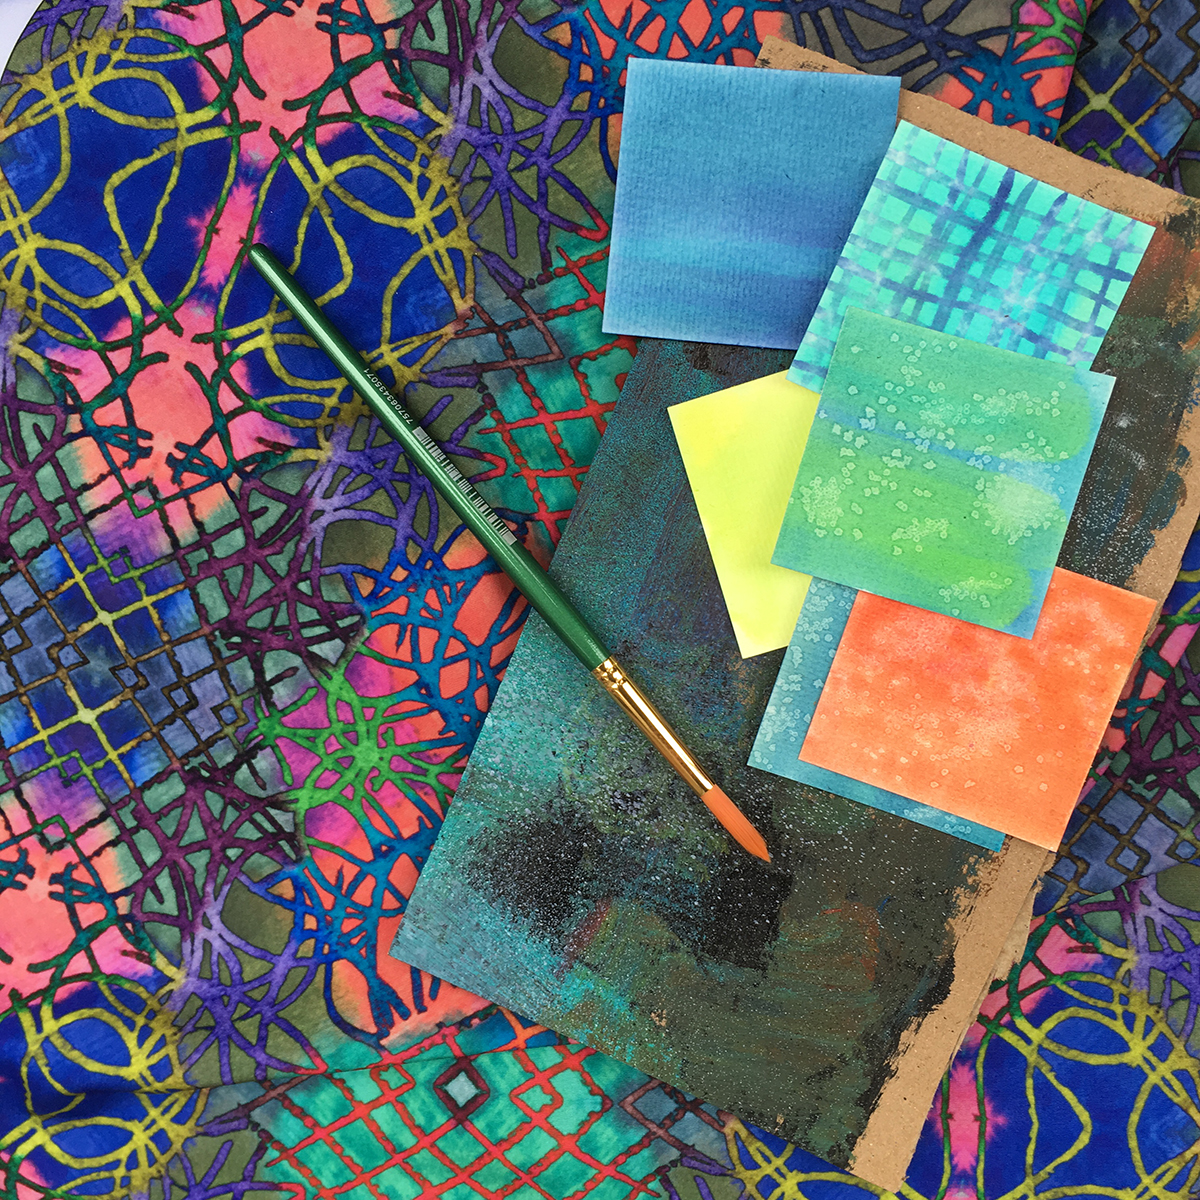
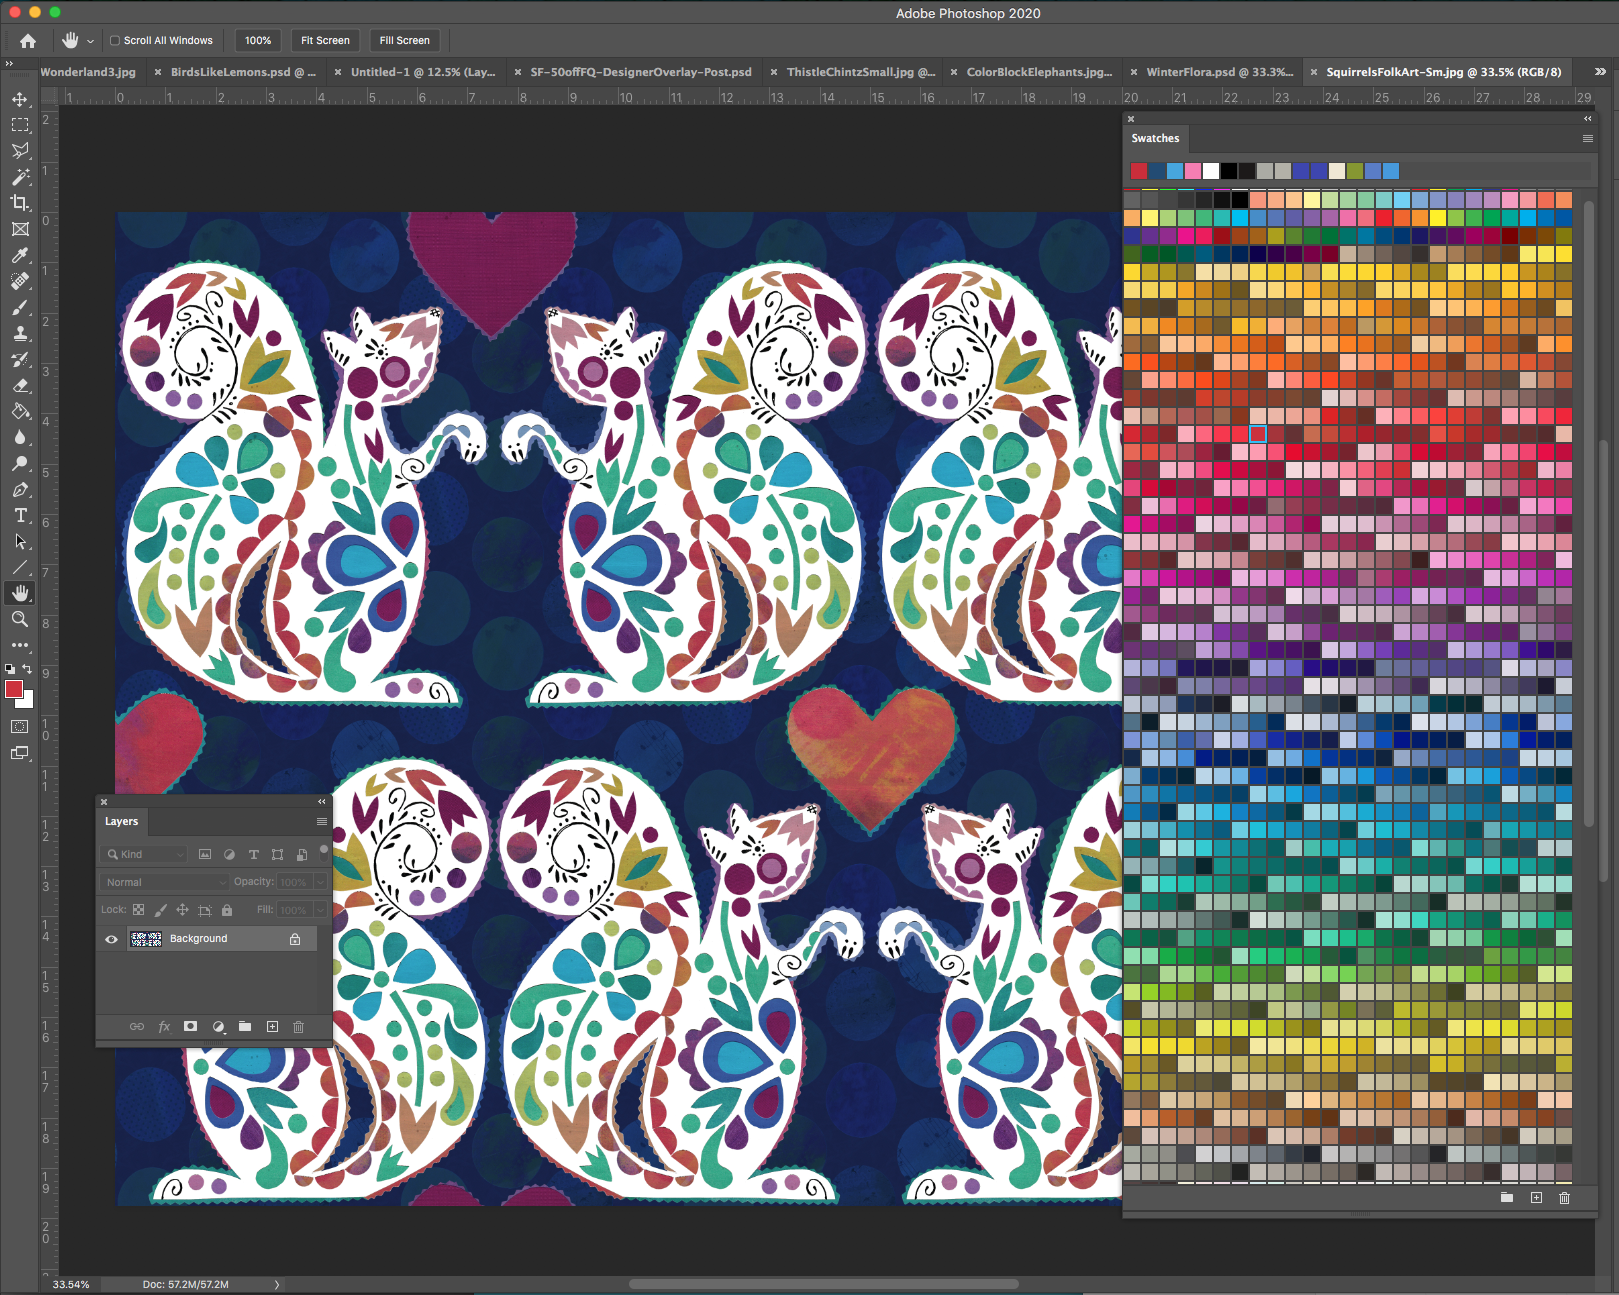
I taught two classes recently. One was a technology related class where I showed a bunch of different kinds of apps and software. I talked about how I know some of the app developers because I have been a beta tester for them for a lot of years. Why do I volunteer to be a tester? Because I like the tool and how it works and I’m married to a guy who writes software for a living. We know lots of people who write software and apps. I like to help make this app better because I use it all the time and I know how important those beta users are. But I got some feedback after the class that it felt like I was promoting my friend’s stuff. In the another class, it was more hands-on and everyone got a packet of materials for the project. I let everyone know the specifics about where I got those materials and what they were working with. I always buy materials for classes from small businesses if I can possibly do it. That means I’m not buying in bulk from a big box craft store, but I’m getting everything from Etsy shops (or locally). And I know some of those sellers a little bit because I order from them often. And I order from them often because I think their shops are awesome and carry quality stuff which gets to me fast, which I can’t always say about those big box stores. I love being able to use my business and art practice to help support other artists. That’s really important to me.

But then I started to second guess myself. Would people think I was only recommending these shops/apps because I get a discount or a kickback? (Spoiler: I don’t.) Another teaching colleague mentioned a Facebook group that she belongs to that only allows you to post a recommendation for something if you don’t know the person you are recommending. So you can’t recommend your own video that answers a question and you can’t recommend one by someone you know. What’s left? Recommending something you randomly found on Google? That doesn’t seem super helpful. (And why do I want to spend my time Googling answers for someone else? Sheesh!)

So I thought about it. And I talked to some colleagues. And I decided that the person who thought I was a little too infomercial-like had a point. Because how would anyone know that I’m not a paid Influencer if I don’t say so? So many things we see online are so artificial. You can Photoshop anyone into any scene; you can mock up 100 different virtual products with your design on them; you can add virtual eye makeup to your Instagram videos. We all should look at things with a healthy dose of skepticism, right?

It made me think about the language I use when I talk about the things that I love and how important it is to be transparent. I need to talk about why I choose to use the tools I use when I am teaching about them if I want people to understand that I am not just showing you this because I get a little kickback when you click it. There is absolutely nothing wrong with being an Influencer and having your business rely on affiliate links and ad income, but it’s not what I do. And I realized that it was important to me to say that.

So I decided to write this post and say that I don’t use affiliate links or ads or cookies and I added that to the blog footer. I don’t get any discounts, kickbacks, credits, promos, royalties, freebies, or commissions for any of the services or apps I teach about or recommend. I teach about Spoonflower and Etsy (and lots of other things) because I like what they do and I have a lot of experience with those platforms that I like to share with others. I am a teacher; that’s what I do. I absolutely recommend shops and apps and things made by people I know because that’s probably why I know them. I had a great experience and came back. I believe in community, whether it’s a tiny online community or a big real-life one. It’s why I’ve served on Boards of Directors and grant evaluation panels and why I participate in pilot programs and beta tests because it’s important that someone does that work to help make the community thrive.

18 February, 2020

Learning things takes time.

2020-02-18T14:19:31-06:00An Artist's Life, Spoonflower & Fabric Design, UpcomingClasses|Comments Off on Learning things takes time.

Tutorials that say that a project is “quick and easy” are kind of a pet peeve of mine. You see entire pages of results on Pinterest: quick, easy, no-sew, only 2 steps, 5 minutes to make, 30 second hacks. It’s not that I don’t think there’s a place and a need for quick and easy projects, but I think that’s often all you can find: the quick and easy solution to a problem that might not be so quick and easy.

I’ve spent the last week or so putting together some new classes. I know how to do that planning part, but I needed to set up a new way to take registration payments and to link them together with the event and to post them as a draft event on Facebook. None of those are “hard” things to do, but they were all things that I needed to learn something about. Square recently updated the way they do their web shop. So I needed to learn the new system. It was super confusing, but I finally have the basics figured out. My event calendar needed an update and I spent a few minutes figuring out how to add a link for the class cancellation policy to every page so I didn’t have to copy and paste it in every time. I got the events posted and then spent many minutes tapping around on my phone trying to figure out how to accept the invitation to co-host the event with my FB page, because although I found the “accept” button in the browser version on my laptop, the button didn’t work. But I digress…

The thing is, it feels good to learn something like this. It’s a sense of accomplishing something. I spent the time and I figured it out. I grumbled, I muttered some words under my breath, I was frustrated a little, but I got there. And now I know. And I can do it again.

This is the problem with the “quick and easy” solutions. There really isn’t a sense of accomplishment. You are done before you ever had to dig in and mutter curse words and figure out the solution. When I was thinking about writing and designing these new classes I am teaching, this was something I kept thinking about.

Often, I am invited to do the lecture or the intro class for a group or organization but I almost never get to teach the thing that digs deeper. I love teaching those, don’t get me wrong; but I am always asked to do the “quick and easy version”, which has a low cost and a low time commitment, but can accommodate the most students. I haven’t been teaching much lately because the only opportunities I had were teaching these same “quick and easy” classes over and over. Which is great, but I felt like I was starting to sound like a broken record. At least in my head. I know that I was only getting people to a tiny taste and not actually getting them to the feeling of having learned something.

However, sometimes cool things just fall in to place and I got an opportunity to try something a little different. A dear friend of mine wanted to try opening up her new studio to guest instructors and basically said “tell me what you want to do.”

Taking a class is a leap of faith. You go in with an expectation and anticipation, and you trust that you will get that thing or idea or concept to take away at the end. Teaching is also a leap of faith; trusting the students to come along with you for the ride. And for these classes that I just wrote and redesigned, I am taking a leap of faith with my students too. I tried to think outside of the box on these a little bit and think more about what would make them great classes and less about what would make them “quick and easy”.

So I upped the expectations on a few of them. I’m requiring students to do a little work ahead of time like uploading a file to me, so we can have a cooler experience during class working with actual printed fabric. I created two hybrid classes that have both an in-person and an online component. One session focuses on the hands-on “technology” parts that students want help with and the second online session they can do on their own time in their own sewing space to finish the project. I realized that a majority of the students who take classes from me come to class with a beginner skill level when it comes to digital design, but they are not beginners when it comes to sewing. So I made classes that matched that. Hands-on in-person work with the digital/technology stuff paired with independent lessons in the stuff you don’t need the detailed help with. This hybrid format also makes it easy to commit, I hope. You only have to fit one class session into your busy schedule, but you get a whole other half of the class to do on your own. It’s kind of like a two-for-one deal.

Will these work? I don’t know yet. I hope so. I talked to a bunch of other friends of mine who are teachers and they had varying degrees of optimistic skepticism. But just like any new product or idea, you have to prototype. You have to try it and see what happens.

Check out the new classes here

21 January, 2020

The Return of the Spoonflower Masterclass (kind of)

2020-01-21T14:50:27-06:00Spoonflower & Fabric Design, UpcomingClasses|Comments Off on The Return of the Spoonflower Masterclass (kind of)

In July 2020, I am teaching a 5-day class at the Touchstone Center for Craft in Farmington, PA. It is a masterclass in designing your own digitally printed fabrics with Spoonflower, with a focus on using Photoshop as your main digital design tool. I haven’t taught a class like this in more than a year, but not for lack of interest, just for lack of opportunity. It’s hard to put together a class like this without somewhere like Touchstone to help coordinate it.

You may have found my blog because of the Masterclasses that I used to teach at Spoonflower in Durham. We had to put those on hiatus, unfortunately, because the space we were using to teach in was needed for other things and we couldn’t make the budget stretch enough to be able to rent classroom space. (Space is always the biggest challenge I have in getting a class like this put together.) So I am really excited that Touchstone invited me to be there! I call it a masterclass because of the amount and depth of material we get to cover in class, but you can take the class even if you have never designed anything before. You don’t need to have any special skills and you don’t need to have ever used Photoshop.

This is a description of the class:

Learn to design your own fabrics with Spoonflower, working with Adobe Photoshop as a fabric design tool. Using photographs, paintings, drawings and cut paper textures as starting points for your designs, class time will be focused on practice with digital tools and techniques for creating seamless textures, learning how to work with layers, and understanding the techniques to accomplish specific effects. You will see hands-on samples of all of the Spoonflower fabrics and talk about optimizing your design for printing on different surfaces, troubleshooting color and scale, and choosing the right fabric for your project. You do not need drawing or painting skills; no experience with Photoshop or fabric design is necessary, although you should be comfortable with basic computer functions (copy/paste, saving and uploading files, working with a thumbdrive). You will leave class with several print-ready design files and will receive printed swatches of your designs mailed to you after class. Visit spoonflower.com to learn more about this platform.

And you can read about the technology requirements and some FAQs here.

If you are interested in taking the class, Touchstone has given me a couple of discount codes for half-price scholarships that I can give away to two students. Which is AWESOME. Send me an email if you are serious about the class and want to talk more about the scholarship details. I want to help you get there!

23 September, 2019

Etsy Resources: A Virtual Handout with my top 10 articles to read first

2019-09-23T12:31:21-05:00Classes & Teaching, Etsy, Tutorials, UpcomingClasses|Comments Off on Etsy Resources: A Virtual Handout with my top 10 articles to read first

I’m teaching a class today about opening an Etsy shop and I wanted to create a quick reference handout that had clickable links. That’s hard to do with a paper handout. So I decided to create it as a blog post and even if you aren’t in my class, this reference might be helpful to you as well.

I always recommend that new potential Etsy sellers take some time to read the Etsy Seller Handbook, but it can be really overwhelming to get started. It has a lot of information. So here are my 10 favorite articles to help you make decisions as you are opening up your shop and trying to decide what features to use.

Getting Started.

Listings.

Getting Found in Search.

Shipping.

Ads

3 August, 2018

This weekend at the Bell Museum: Me!

2018-08-03T18:39:08-05:00An Artist's Life, Classes & Teaching, Out & About|Comments Off on This weekend at the Bell Museum: Me!

I will be at the brand new Bell Museum this weekend as an artist-in-residence in their #SolutionStudio Lab. The exhibit in this space talks about how sometimes the things you need to do your work aren’t things found in stores and how artists and scientists have to sometimes make the tools that they need. I am going to talk about how I use recycled paper all the time when I make my work and then we will be making containers from recycled papers: pieces of origami art that you can use to hold things like art materials or your rock collection. I will even show you how to make a paper cup that holds water. My sister and I used to make these all the time and thought it was super fun to drink out of them. Saturday & Sunday August 4&5, 1-4 pm.

Hope to see you there!

5 February, 2018

Tutorial: Make a valentine cut-out design

2018-02-05T13:34:56-06:00Classes & Teaching, Freebies & Patterns, Spoonflower & Fabric Design, Tutorials|Comments Off on Tutorial: Make a valentine cut-out design

Since Valentines Day is just around the corner, I thought I would post a quick tutorial for making a heart shaped cut out design. You can use any image or pattern and “cut it out” to make it into a heart shape. (Or any other shape you want to use. The steps are the same.)

Make a heart

The first thing is to create your heart. I want a nice smooth shape that is basic black and white. You could use some clip art, but I really prefer to make my own “clip art”. (pun intended) With my own art, I never have to worry about using a copyrighted image or inadvertently stealing someone else’s design. I could draw something in Illustrator or use the vector tools in Photoshop, but I think it is so much easier to just start with a piece of paper. Seriously.

Why? I like the quality of the shape. Vector designs often look too perfect to me. It is really fast and easy to use the circle tool and the pen tool to create something that is symmetrical and has perfectly smooth lines, but I think that’s boring. It is also fast and easy to use scissors and a piece of dark colored paper to cut out a shape, and get all kinds of imperfections: little wobbles of the scissors, curves that are more irregular and so on. It looks less computer generated to me and I like that.

So I sketched a heart with an arrow design on a piece of black paper and cut it out. I used a paper punch to make the little dots. Then, I scanned it. I adjusted the scanner so it was scanning it black and white and I bumped up the contrast. The scanner DPI settings aren’t very important here, so I chose 150 dpi because that should be plenty of pixels to work with.

If you have Photoshop, you can use that do do this next step, but it is also really easy to do in PicMonkey and that’s what I will show you in this tutorial.

Use PicMonkey

Go to picmonkey.com and choose Design (t icon) from the menu at the top. Then create a custom canvas. I am going to make mine 600×600 pixels. That’s a great size for a blog post or email and by making it square, it will look great in my Instagram feed.

Go to the Overlays menu (butterfly icon at left) and choose Add your Own at the top of that column. Then find your scanned heart design.

Next choose the photo or image that you want to “cut out” with this heart. I will use a picture of my dogs as my example. Choose Add Your Own in Overlays again and find that image.

To make it “cut out” you just need to select a different blend mode for this new overlay layer. Look in the Overlay pop up palette that should have popped up somewhere in your editor. (It’s on the right side in my screen shot) Under the Blend Mode dropdown, choose Add.

I can adjust the size of the overlay by using the bubble toggles at the corners or rotating with the handle at the top until I have the image and the heart cutout aligned the way I like it.

You can also use another repeating design instead of a photo; in fact any .jpg image will work. How about a sushi valentine? For this one, I just took a screen shot of this sushi stripe design that I created and used it to make an overlay.

And here I took the same idea with a different design and then uploaded it to Spoonflower to make a repeating pattern for a fabric design. This one would be cute as wrapping paper!

If you want to learn more techniques like this for designing your own patterns and fabrics, be sure to check out my online classes. There is even a free one to get you started and it builds on some of the ideas in this tutorial. Or check out my events calendar for in-person classes.

Go to Top