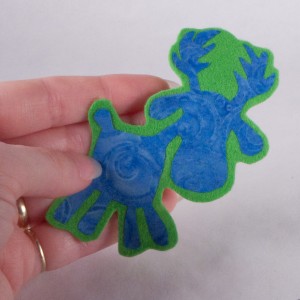
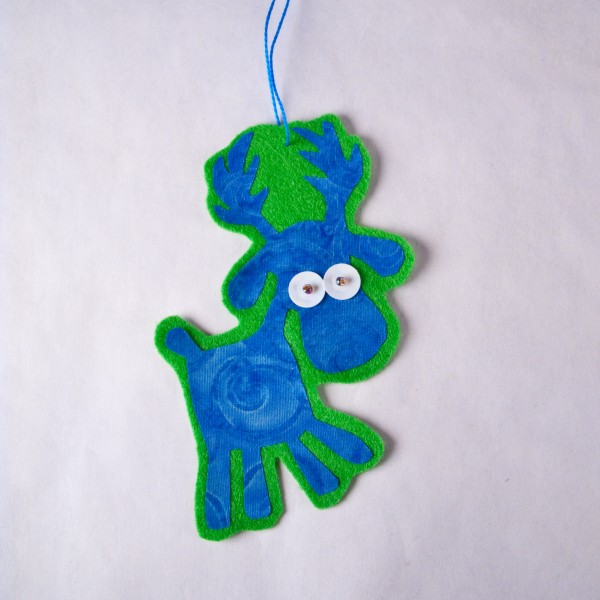
 I made these little deer ornaments originally as gifts for my co-workers one year. A friend took one look at the goggle-eyed deer and said “That’s what deer in the headlights look like.” The name stuck.
Materials
- felt, 4×5 inch piece in any color
- embroidery thread and sewing thread, any color
- scrap of fabric about 4 by 5 inches
- fusible paper-backed webbing (like Heat N Bond Lite or Wonder Under)
- 8 mm sequins, white or another pastel color
- a few dark colored seed beads
Tools
- pencil
- beading needle or small sewing needle
- iron & ironing board
- small sharp scissors like Fiskars microtip
Instructions
1. Right-click or option-click on the deer pattern piece to save the pattern piece below to your computer. Then print it out. Trace the deer pattern on to the paper backed fusible webbing. Following the instructions on the packaging, iron it to fuse it on to the back of your scrap fabric.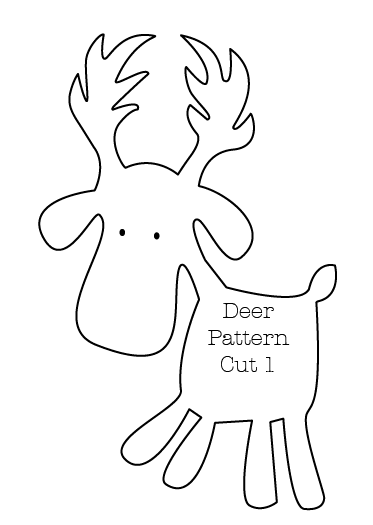
2. Cut out your deer.
3. Peel off the paper backing from the felt deer and place the deer, glue side down, on to a piece of felt. Iron to fuse it in place. Note: If you are using acrylic felt rather than wool felt, please test a scrap first to make sure it doesn’t melt when you iron it.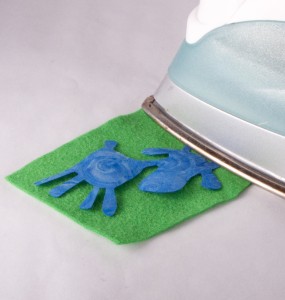
4. Cut out around your deer again, leaving about 1/8 inch border of felt all the way around.
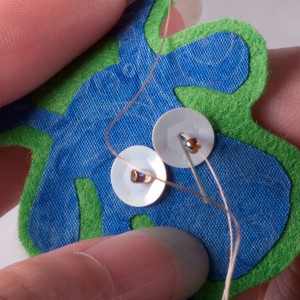
5. To make the eyes, thread your beading needle with a piece of regular sewing thread. Tie a knot in the other end. Poke the needle through from back of the deer to front, where you would like one eye to be. Pull until it stops at the knot.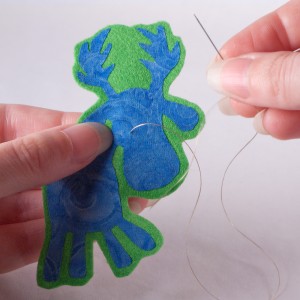
6. Thread a sequin and then a seed bead on to the needle. Poke the needle then back through the hole in the sequin, and back through the fabric. Pull the thread snug. The bead will hold the sequin in place. Repeat for the other eye. Tie off your thread on the back and trim the ends.
7. With a 6 inch piece of embroidery thread, stitch through the felt between the antlers and make a loop to hang your deer. Tie the ends together.


