It’s been about 5 years since I have sewed something just for myself, just for fun. That seems crazy to me, but I think the last one was a dress for my sister’s wedding. I do a lot of sewing for my business, so the machine has put in the miles, but the only things I have made have been basically business related.
I realized that I wanted to just spend a day sewing for me. So I went on a search for some fabric that was not something I had designed and was something a little special. I have had great luck ordering some Indian cotton fabrics on Etsy. I ordered several yards of block printed cotton from this shop. It’s lovely. Smooth, soft, washed beautifully. Exactly what I wanted for a blouse.
I was going to make a favorite tank pattern (Gemma by Made by Rae) which I have made several dozen of over the years, but I needed to do an adjustment to the pattern because my body just isn’t the same shape it was 10 years ago and I was just feeling like I wanted to sew and not do math. So I was doing a little searching and this pattern popped up in my feed and I had to try it.
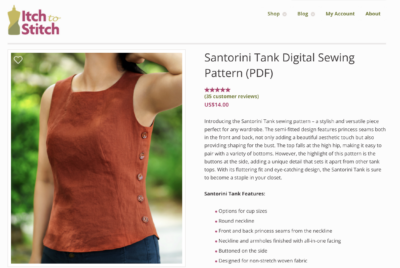
 The Santorini Tank by Itch to Stitch. So much to love: the interesting seam lines, the button detail on the side. The fact that this pattern comes in sizes 00-40 and 4 different cup sizes! I’ve made one other pattern by Itch to Stitch before and I loved it, so I was pretty sure it was going to be great.
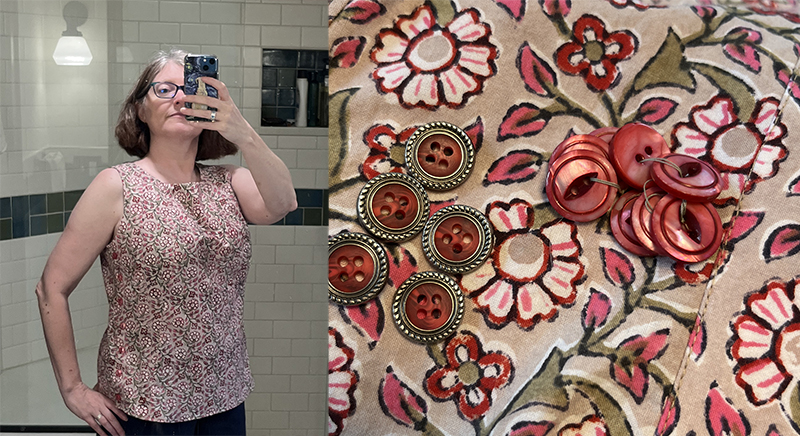
It took me about 4 1/2 hours to tape the pattern pieces together, cut out and sew my first one. I chose a size 12, C cup based on measurements but I have decided that it has more ease than I prefer, so I will go down at least a size in the future. (I made two; you’ll see that later.) I found vintage shell buttons in my stash, which were perfect.
What I love:
- It has a great way of stitching the armhole facings “burrito style” and a link to a blog post about how to do it if the instructions are confusing to you.
- The finishing details were really thoughtful. No weird raw edges on the inside.
- Great instructions with lots of links to extra help.
- The fit/shape is awesome.
My adaptations:
- The pattern calls for 5 – 1/2 inch buttons which felt like not enough to me. I did 7 and they were slightly larger.
- My sewing machine had issues stitching the two buttonholes right at the top because of the extra/varying thickness of fabric there. Not the fault of the pattern, but I might think about how I could tweak that construction a little bit so I don’t need to seam rip buttonholes out. (Argh!)
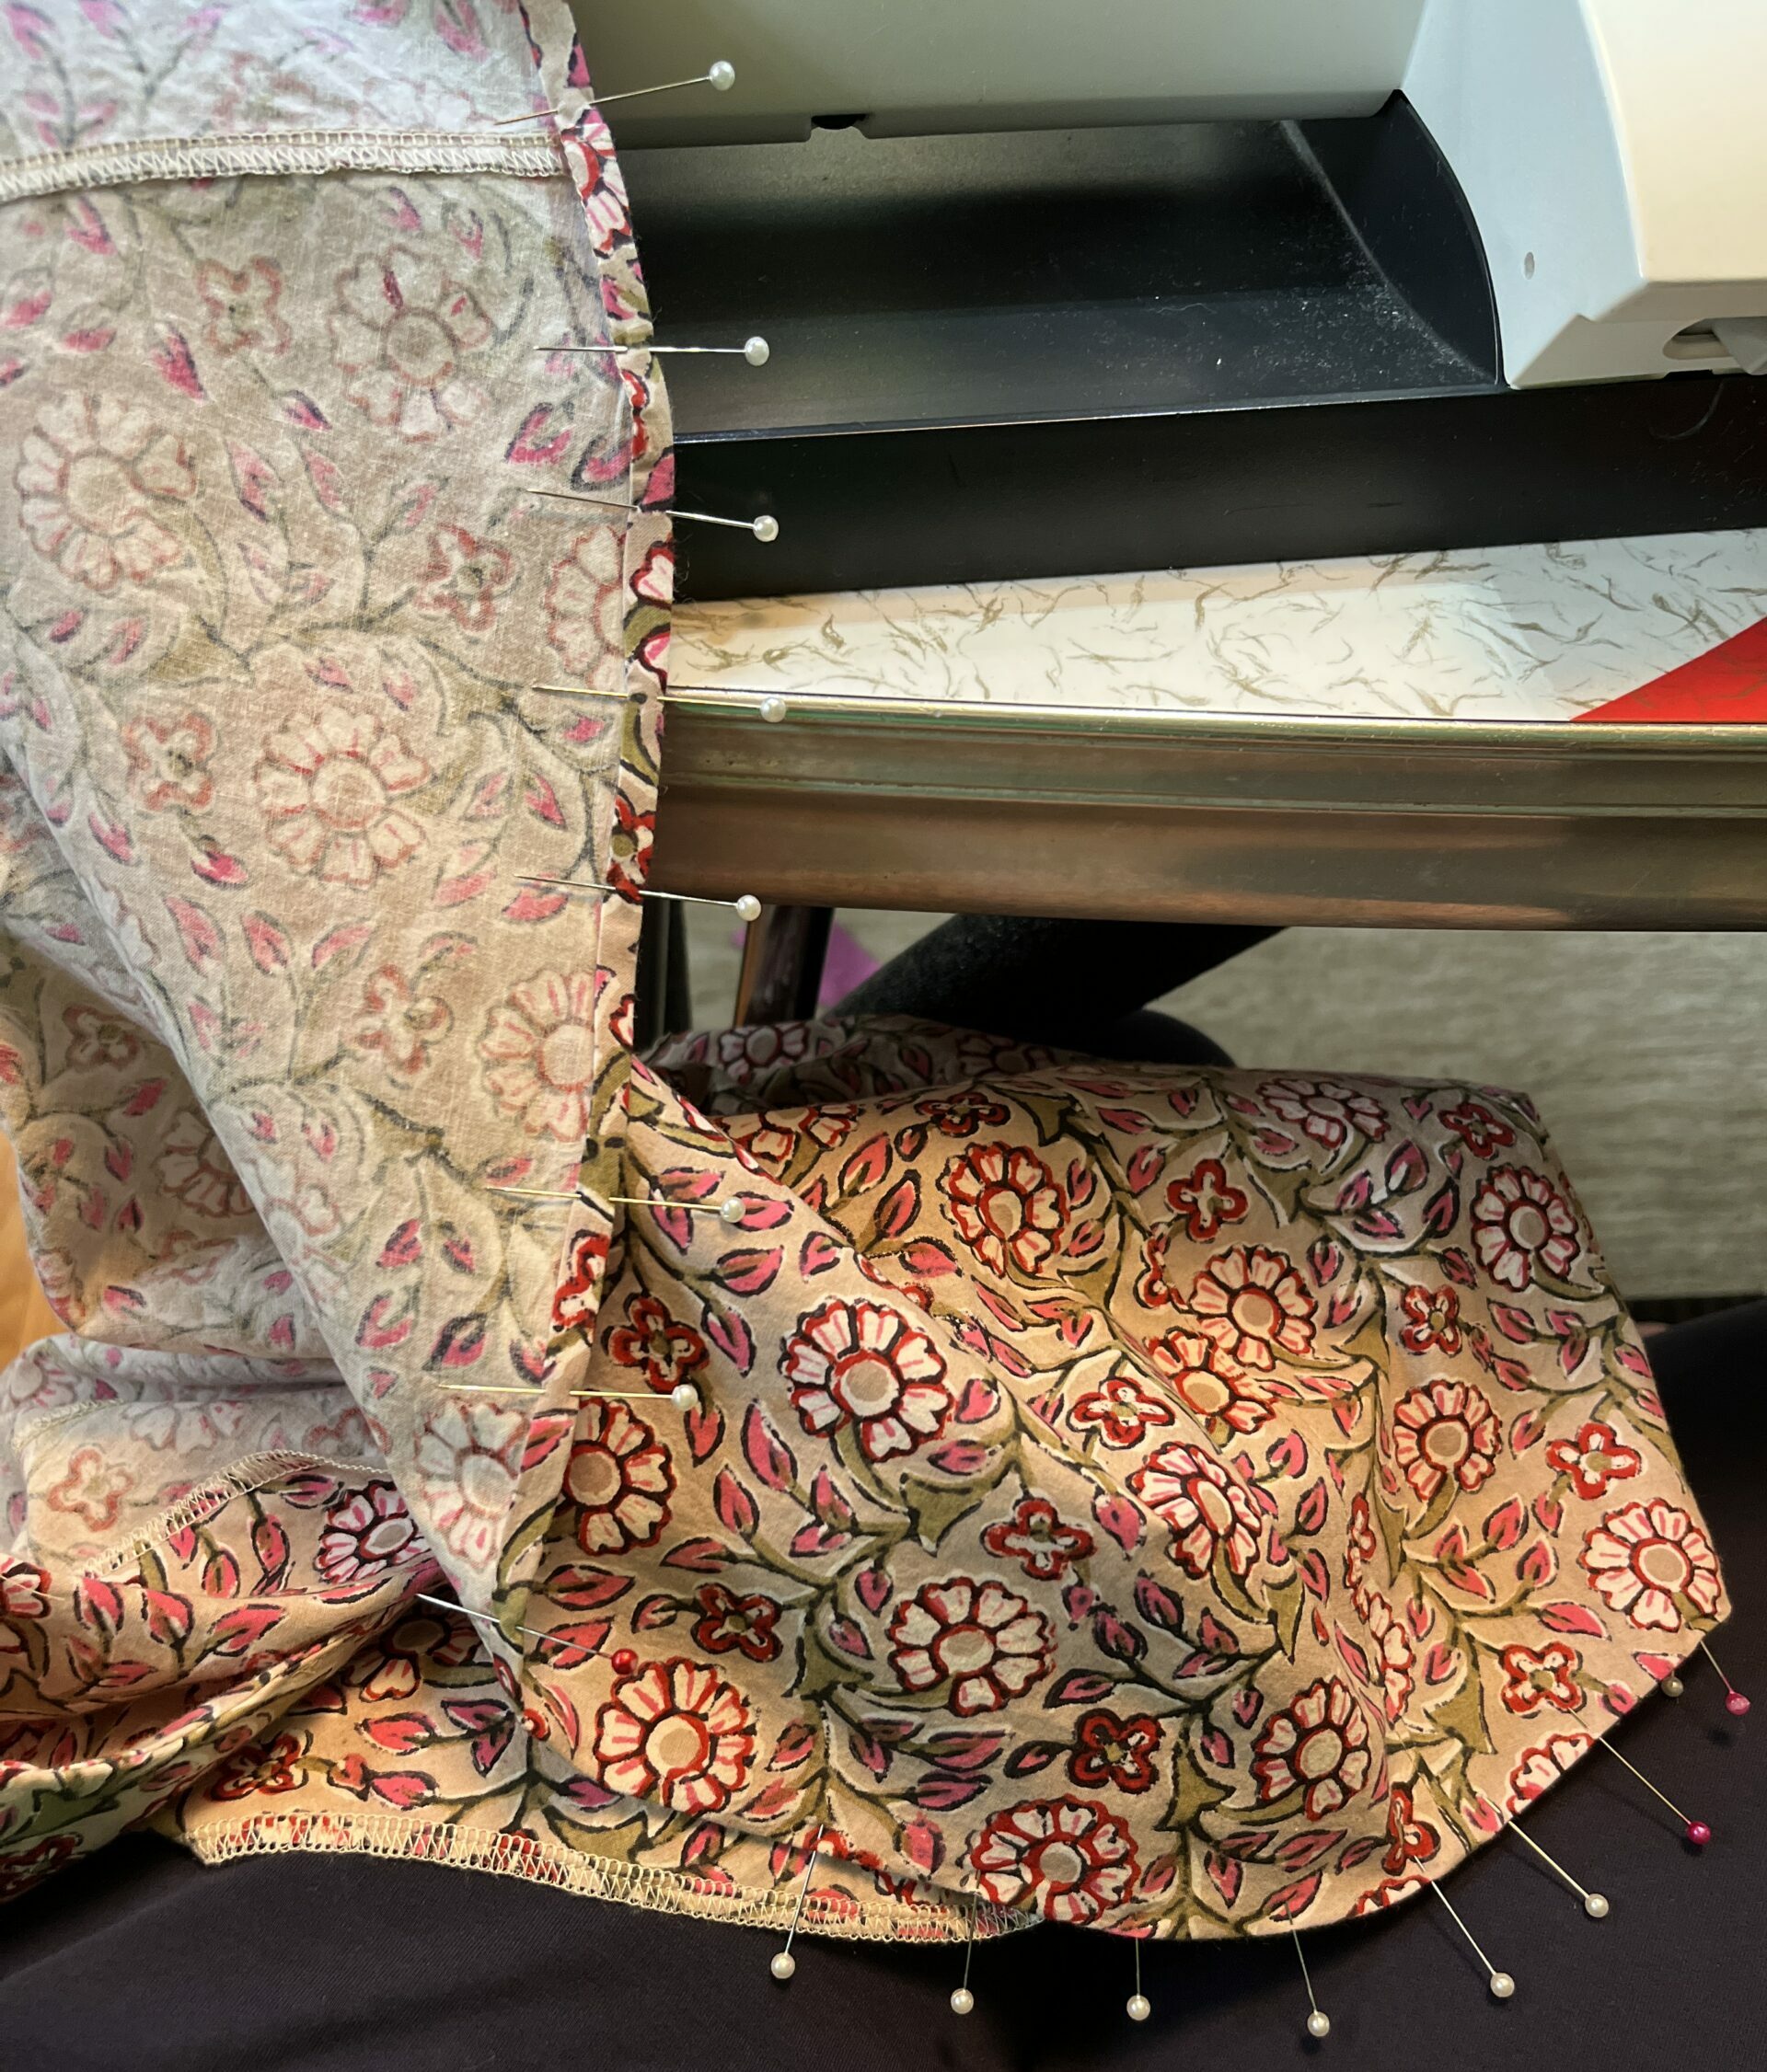
- Eleventy-one pins really does make all the difference in making a curved hem lay nice and flat. I used the hemming method from the Gemma Tank which I mentioned up above, because I have had success with that before.

And then I made another one!
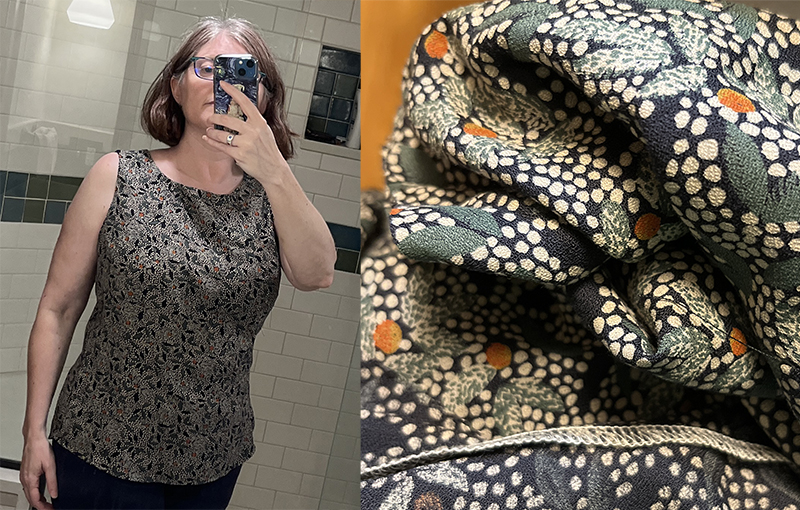
I also had a piece of Atelier Brunette Viscose Crepe which I got from Wyldwood Creative. She “unboxed” it live on Instagram and I ordered it that day. I love this vintage style print and texture. See a photo below. The one I chose is Lucie Cedar (green); she also has it in a blue and a gold/peach color. I had never seen this fabric in person before so I felt like this was a little leap of faith and I was absolutely rewarded! It is so gorgeous.
I decided to take another chance and I threw the fabric in the washer and dryer when it got here. Spoiler alert: that is not what the washing instructions tell you to do. But if I am making a garment, I will need to wash it and it’s going to end up in the laundry at some point no matter how carefully I try to remember to pull it out for special treatment. That’s just how it works at my house. I lucked out. It came out great with my not-following-the-instructions treatment.
For this one, I didn’t have enough fabric to do the button band and I decided with this very drapey fabric and busy print that it wouldn’t be a good match anyway. But I loved the way this pattern went together, so I just decided to make up another one and sew up the side seam, skipping the buttons. I could slip the other version on over my head without unbuttoning, so I didn’t need to invent another kind of closure.
The first version I made was too large in the bust for me and so I took it in as I was fitting/stitching. Instead of doing that again for this one, I reprinted the pattern and went down a size, so this is a size 10 C cup. I took about an inch in on either side on the previous version, so I just looked for a new size combo that was that much smaller. I loved how I could look at the chart of all of the combos of garment size measurements and find exactly what I needed. Ultimately, I chose to size down overall vs changing to a B vs a C cup (which also could have worked).

This one is close to a perfect fit. The bust still feels like it gapes a little at the underarms so if I do another, I might just swap out the B cup pieces but stick with this size and see if that makes it just right for me. Otherwise it’s just a little pattern tweak.
This is my favorite kind of top with some skinny jeans and a light cardigan when the weather gets cooler. So I can see myself making many more in this style and using some of my Spoonflower fabrics. With the button detail I think I would choose lawn or sateen. Without the buttons, poly crepe de chine would be very similar to this viscose crepe.


Thanks for sharing the fun day you had sewing for YOURSELF! I absolutely love both fabrics and what a treat with those buttons. Such a flattering pattern…sounds like an old standby. Thanks again for letting us follow your fun project. It’s very inspiring. May be time to pull out the machine for myself too! Denise