Want to listen instead of reading?
If it’s too much of a spoiler to know how our Halloween photo is made, I don’t want to ruin the magic for you. This is your warning to skip this post. But shooting our photo this year was an interesting creative challenge and I thought it would be fun to talk about how we made it work and what we learned about our cameras.
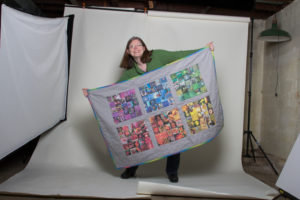
 We have an unfinished basement (which is awesome) and as an artist I have to take a LOT of photos of my work. So we have a corner that is the dedicated photo studio. It has a large roll of white paper and big lights and a tripod set up most of the time. I’ve learned just what I need to do to get great photos in that space. It’s where we usually do our Halloween photos. The previous owners of our house had built a little workbench under the basement stairs full of drawers that we affectionately call our “Prop Shop” which is where we store all of the Halloween props and costume bits as well as all of the backdrops and props to photograph things for my Etsy shop and dress forms for photographing garments. It’s a great setup. In my last blog post I talked about how we are starting construction on a house project this week. That means that everything that used to be on the second floor of our house had to move elsewhere. The furniture, our bed, our collection of board games, the exercise bike, boxes and bins all are now living in what was my photo studio. There is no way to take a photo there.
So instead of building a set, we decided that the Halloween photo needed to be something that was just our faces because that was going to be easier to do in some other part of our house. We had a couple of ideas, but we knew that the light was going to be the most challenging so we decided to go with spooky skeletons and deliberately make the light cast dark shadows on our faces.
Our rule about Halloween photos is that it should be about 80% “real” and 20% Photoshop, where we use Photoshop to just put in those details that make it awesome. This photo is a great example of that.
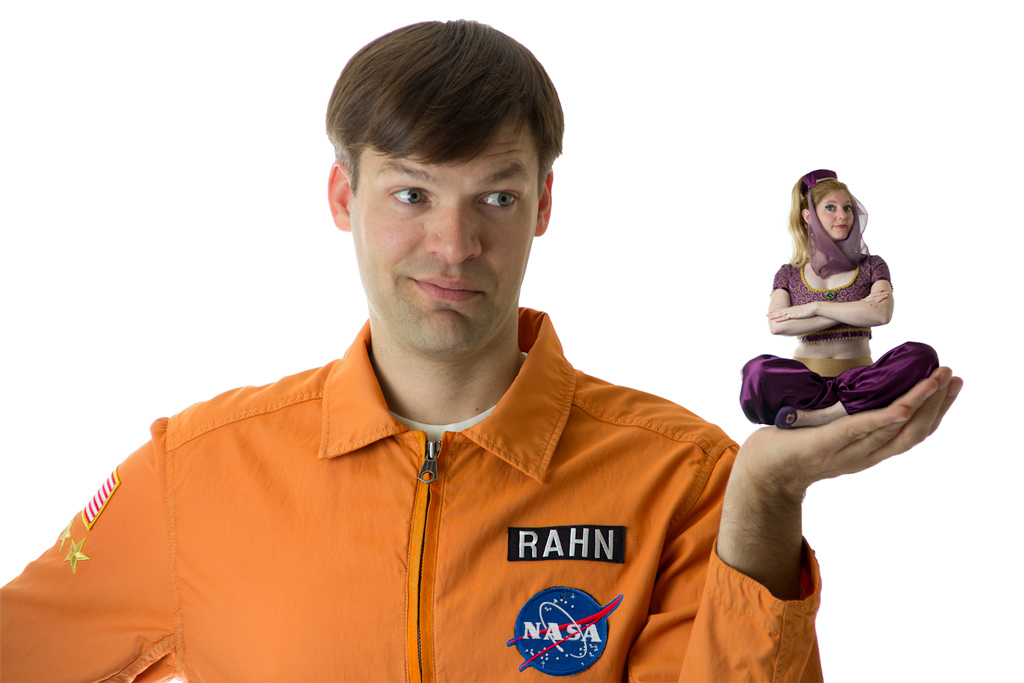
We took two photos. Photoshop helped make my hair blonde and change the tan windbreaker I found for Andy’s costume into flight suit orange. And we put the two photos together.
So we started this skeleton photo with two photos also. We wanted to use just our faces, so I bought a black spandex hood that we could put over our hair and we put on black shirts to make it easy to “erase” the rest of us from the photo.

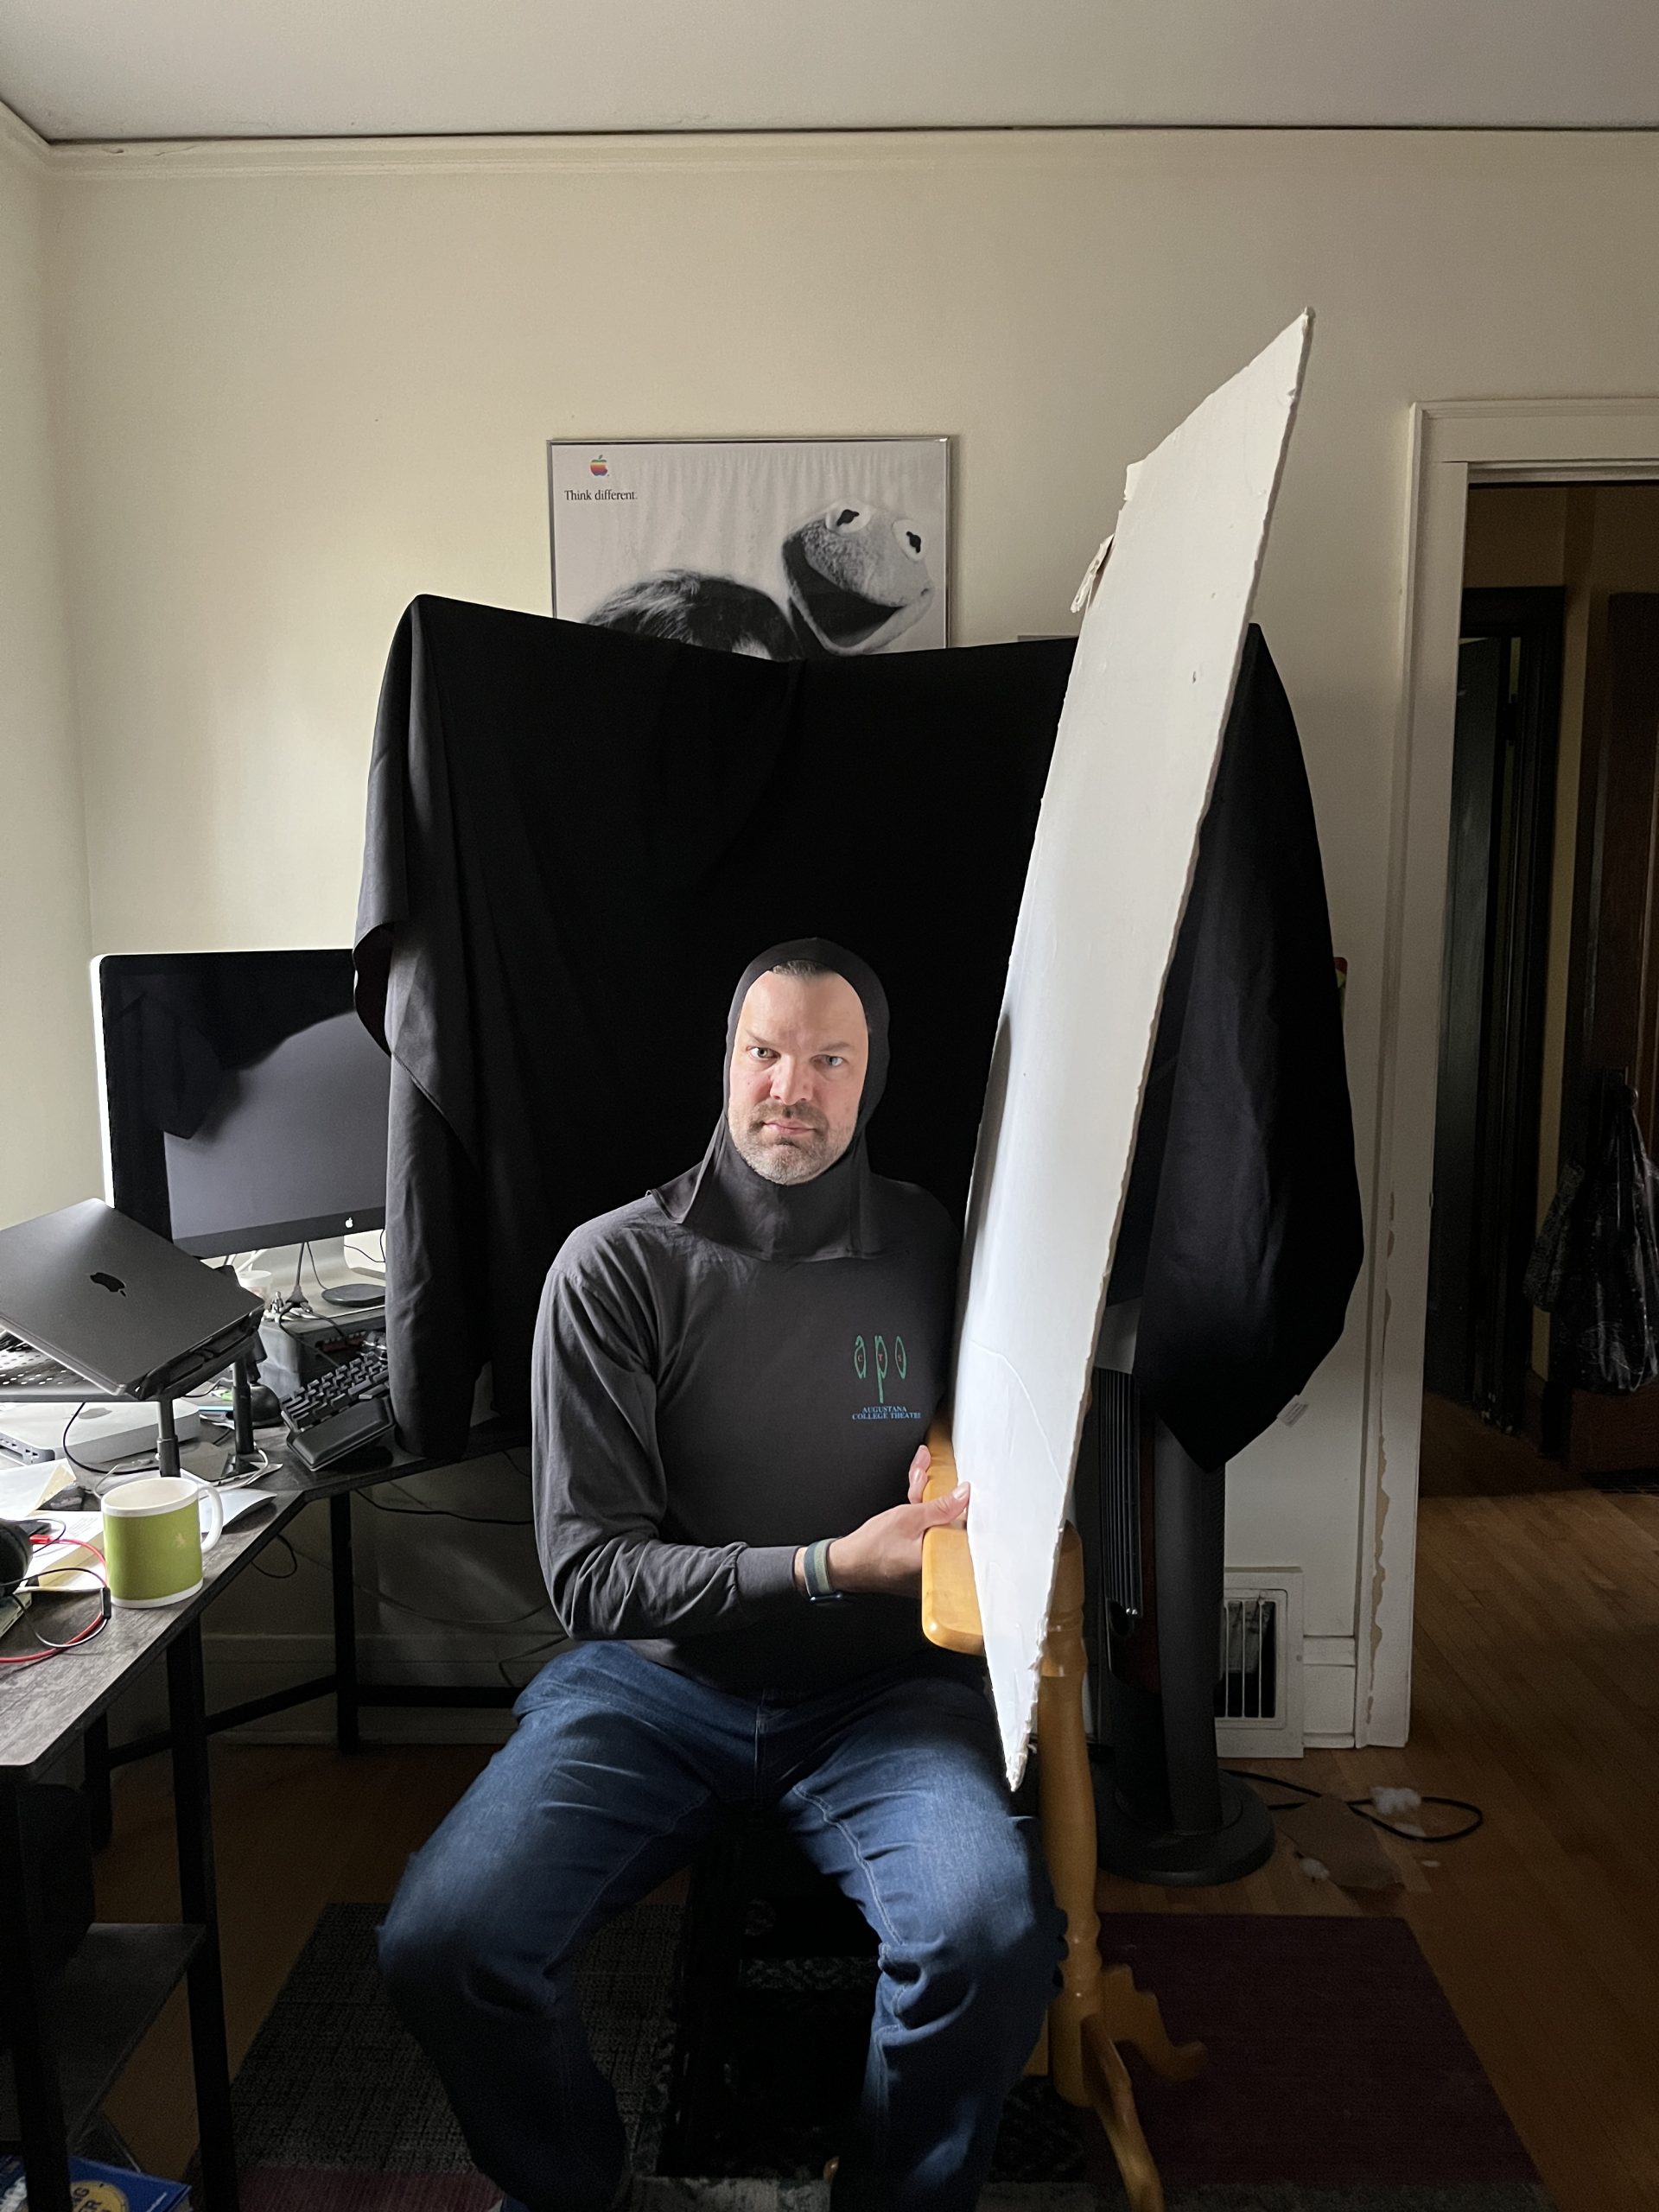
Then I built a “set” out of two pieces of foam core and a black tablecloth and put it on the desk. Andy’s office has a nice big north facing window and on the Saturday morning we took these photos it had great light reflected off the house next door. So that was our light source. We wanted the light to cast some kind of dark shadows but it was too dark, so we each held up a big piece of white foam core to reflect the light back on the other side of our faces. We each took the photo of the other and because the light was exactly the same, they look like we are sitting side by side. We agreed on “dead” expressions and big wide open eyes.
Here’s where it got interesting: it took three cameras to get the shot. We started with a little Canon point-and-shoot that we got just a few months back. It’s a pretty good camera although I am still learning its quirks and we thought it would be the easiest. But when we pulled the photos off the camera they were terrible. Blurry and grainy. (I realized this morning I can’t show you because we deleted them all.) That dark “moody” lighting we were trying to get was not something this camera knew how to do.

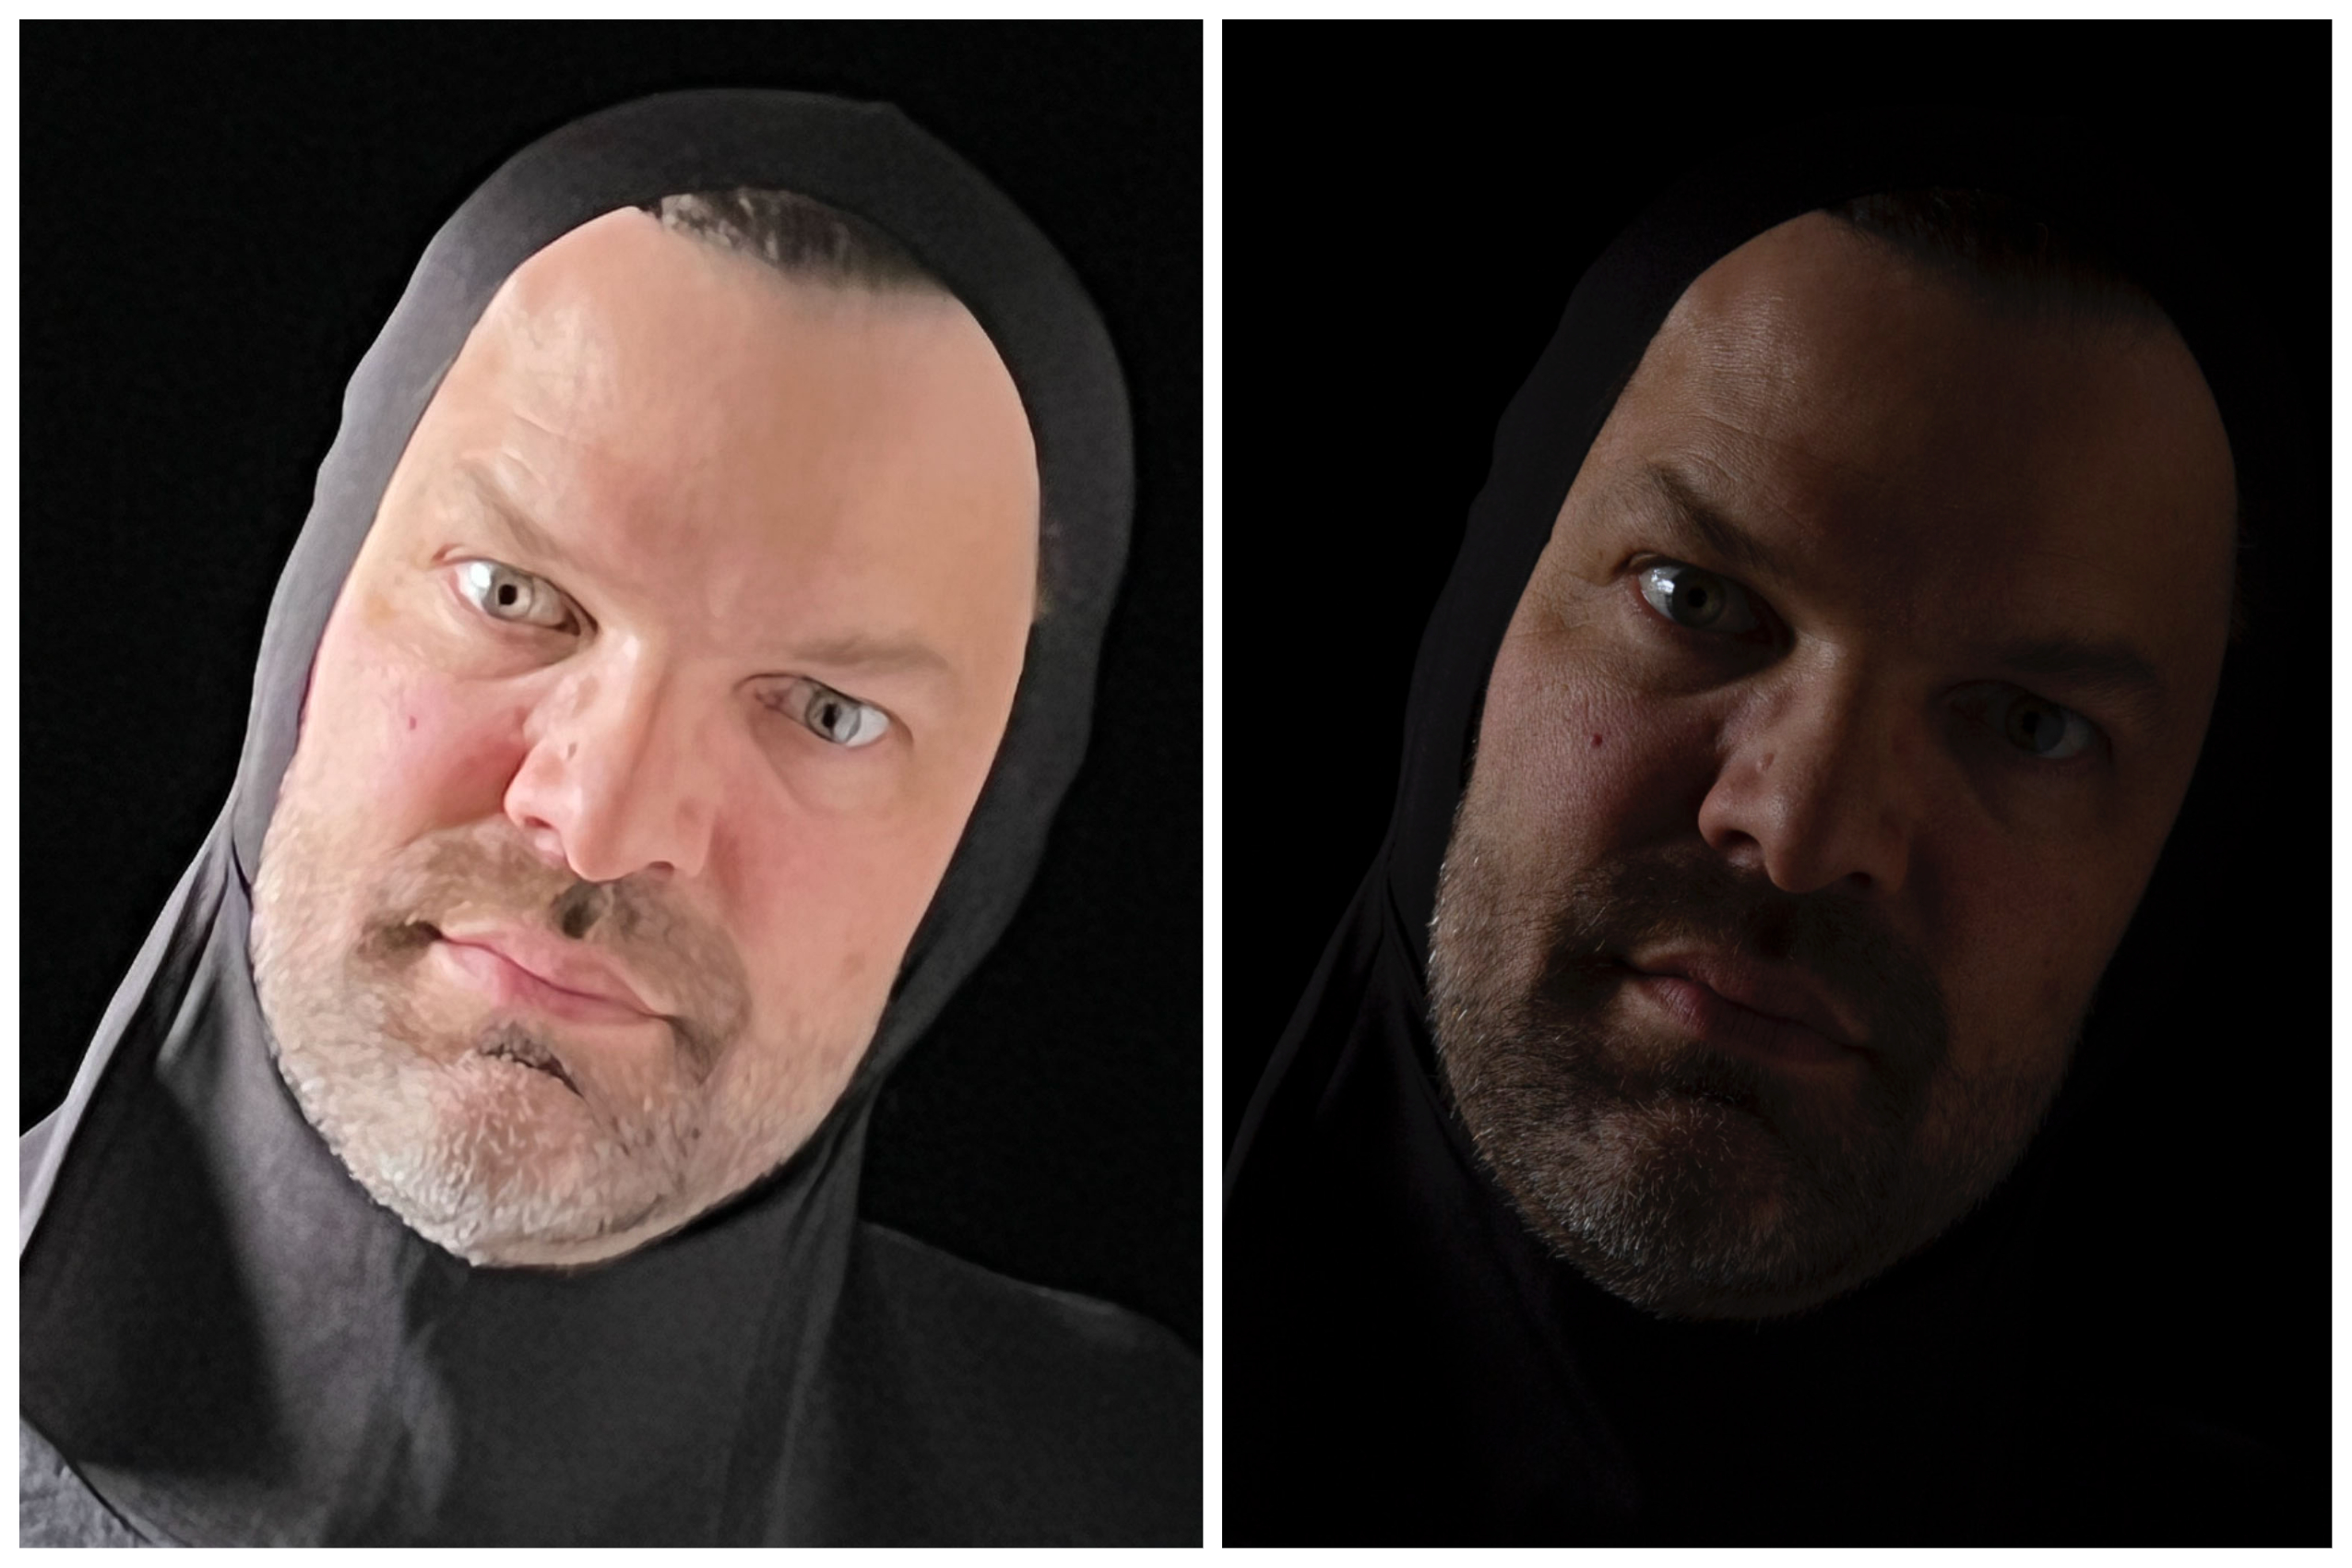
Next we thought we’d try my iPhone. It’s a pretty new phone with a great camera too and again, we were going for easy. The photo on the left is the one from my phone. It has so many “make your photos look amazing” algorithms built into it that it basically took exactly the opposite photo from what we were going for. It took out all of the shadows and made everything bright and “perfect”.
So finally we pulled out our big old Canon DSLR. It’s more than 15 years old, but it’s the camera we usually use for Halloween. That’s the photo on the right. Although it is overall pretty dark because we were working with very little light, just look at those beautiful shadows and the sparkle in his eye. That one was a keeper. Both of these photos are straight off the cameras without any tweaking. What a difference, huh?
Now you might be wondering, where are the skeletons? That was our cheat. Someone on Facebook asked me how much was masks and how much was makeup and the answer is none of it. I bought a skeleton vector graphic on Etsy and we Photoshopped it. We layered the graphic over our faces and carefully tweaked and warped it so it fit our faces exactly, matching noses and eye brows and chins. The layer is transparent and uses some color blending to make it look like it’s painted onto our faces. We erased our eyes from the graphic so you could see them just a tiny bit brighter. I drew the hands (referring to another graphic I found) and then layered a grungy paint texture over top of them to make them match the faces.
Although we had newer and “better” tools, it turns out that when we went back to the one we knew the best we took the photos we needed on the first try. It was very satisfying, after a frustrating hour of photos that were just plain wrong, to go down and dig out the other camera and say “there it is” when we got it right.


