In my previous post, I talked about cutting out the armadillo armor shape from a paint texture and I wanted to dig in a little bit to how that actually works because it is a really neat technique. It uses a tool called Clipping Mask. I am going to show it to you in Illustrator, but you can do it in Photoshop too.
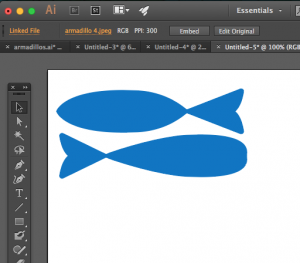 Start with the shape you want to cut out. For the armadillos it was a cloud shape that was their armor. For this example, I drew two simple fishy shapes.
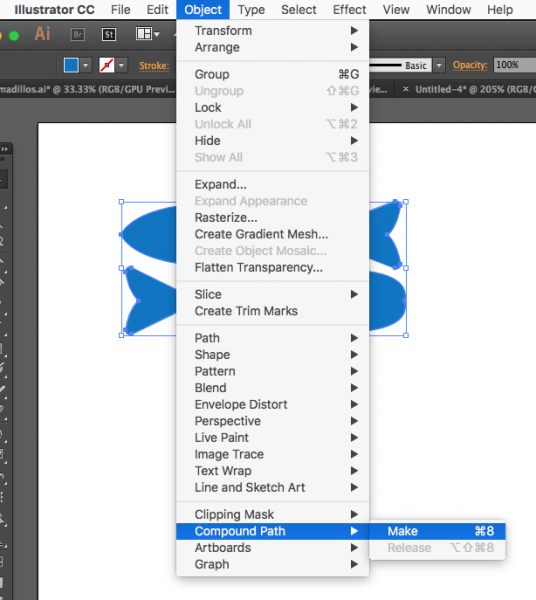
If you have more than one shape, like these two fish, you need to create a “compound shape” from them so you can cut them all out at once. Choose the black arrow Select tool and shift-click to select both shapes. Then go to Object -> Compound Path -> Make.
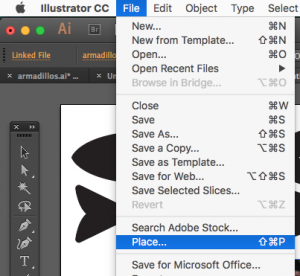
Next you need to add the texture you want to cut things out of. We do that by Placing it in the file. Go to Edit -> Place and select the texture you want. Any .jpg will work. Choose a photo or a scan that you have. I placed the bubble wrap texture that I scanned because I think it also looks a little like fish scales. Once you have placed it, it will show up as another object on your canvas. You might need to resize it; you can do that by clicking the toggles on the corners and dragging it bigger or smaller.
We need the texture object to be behind the fish, so select the texture and choose Object -> Arrange -> Send to Back. Now move the texture and the fish around so that the fish are covering up the part of the design you want to cut out.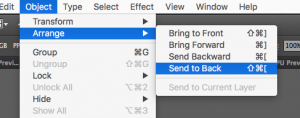
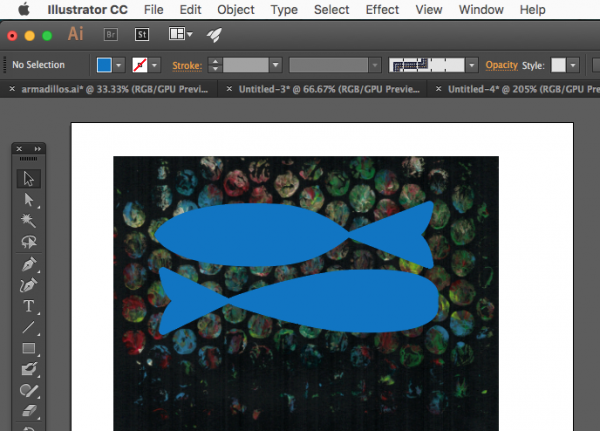
The last step is creating the Clipping Mask. Select all of the objects (fish and texture) and then choose Object -> Clipping Mask -> Make. (You can also right-click once you have them selected and a menu will pop up right where you clicked. Choose Clipping Mask.)
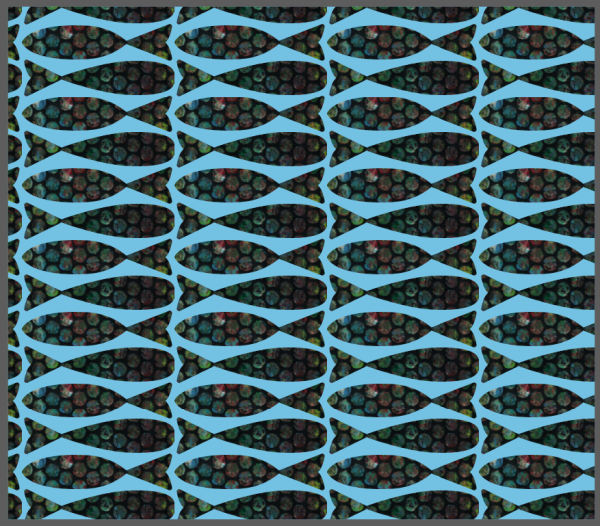
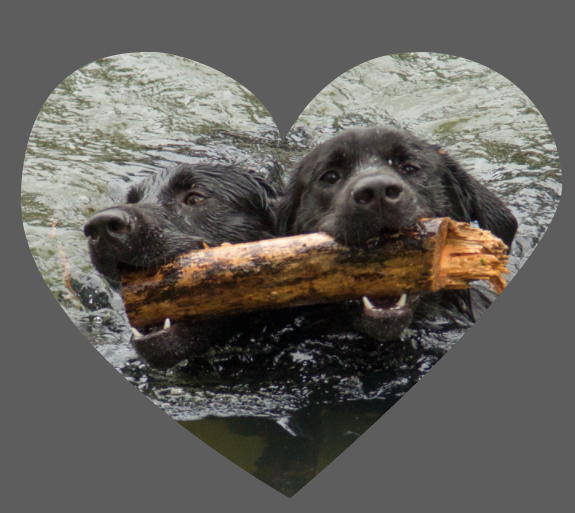
Now you have fish cut out of bubble wrap texture. You can do the same things to cut words out of a photo or make a valentine heart from your dogs’ faces.


